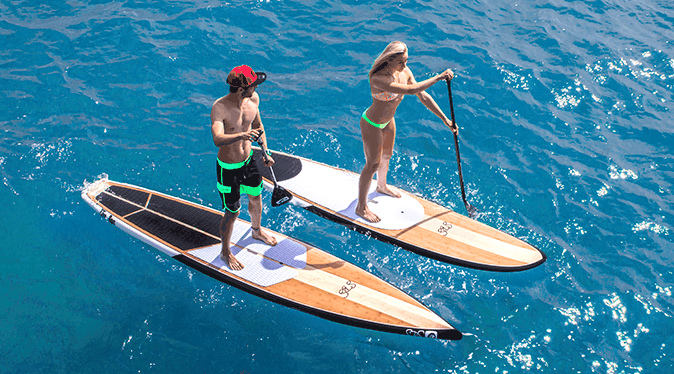
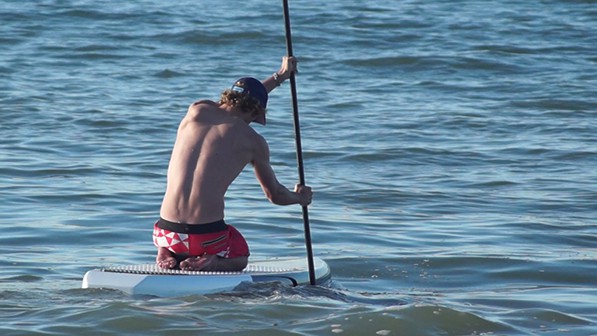
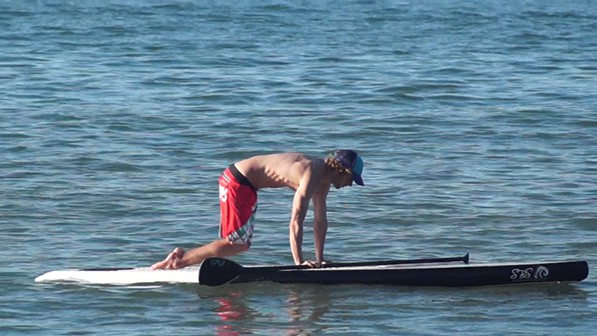
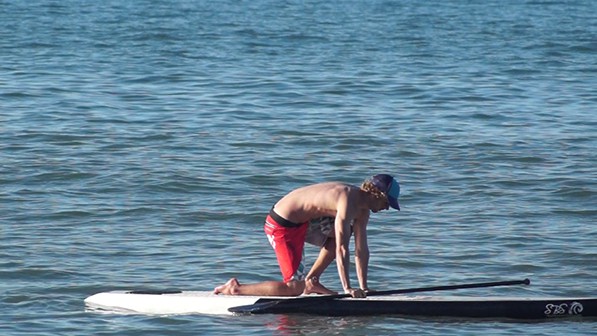
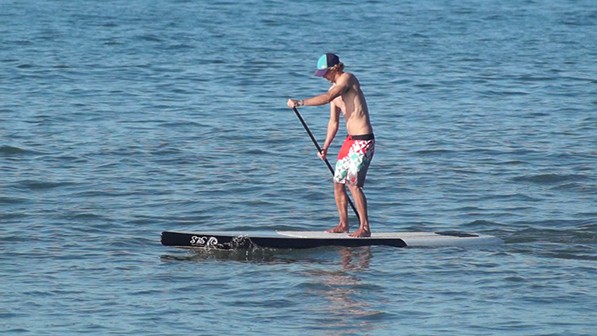
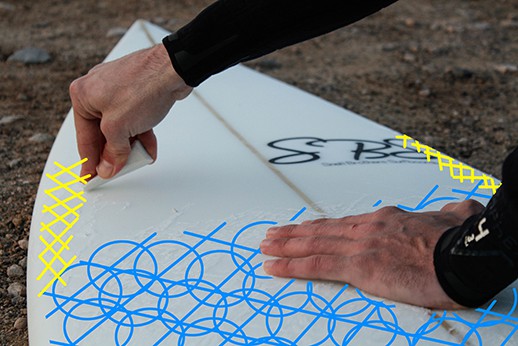
If your into stand up paddleboarding you probably want to spend more time doing it and would love to get to a better level where you fall in less, paddle faster and can surf more waves? The best way to improve is to get more practice paddling but there are other ways...

Kelly Slater – How to Carve 360 in Surfing …
Kelly Slater – How to Carve 360 in Surfing …
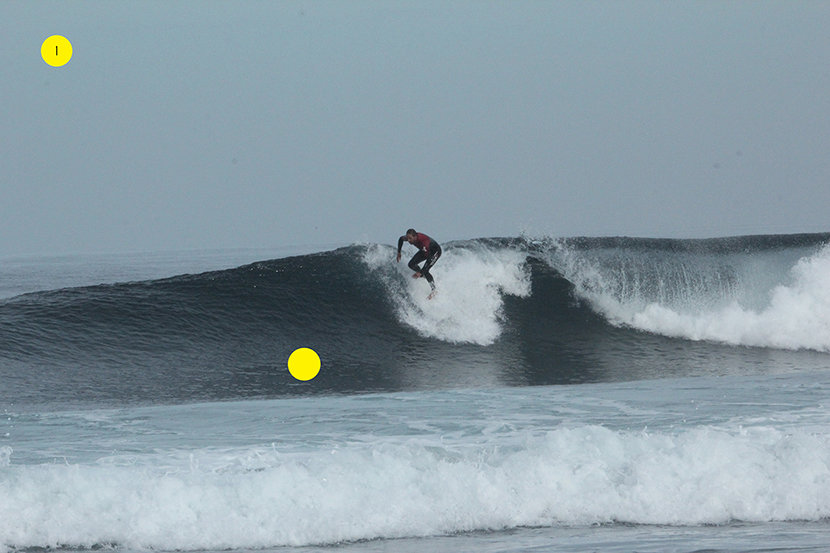
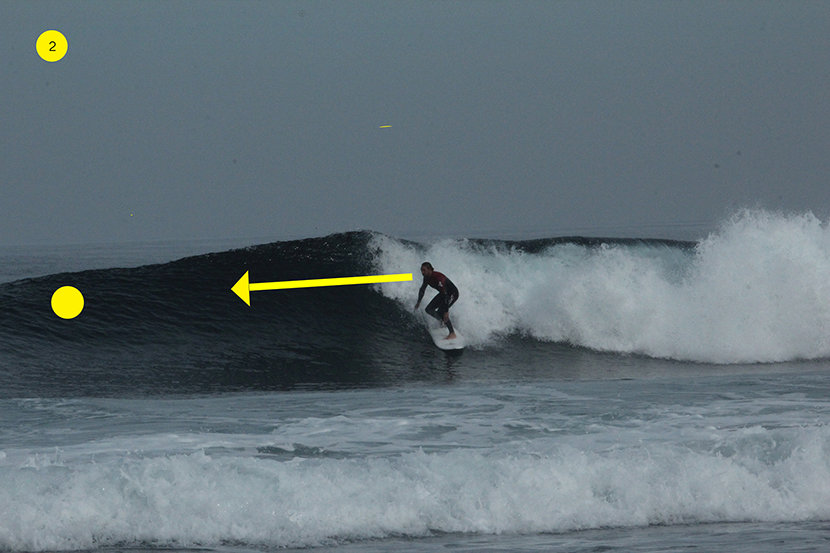
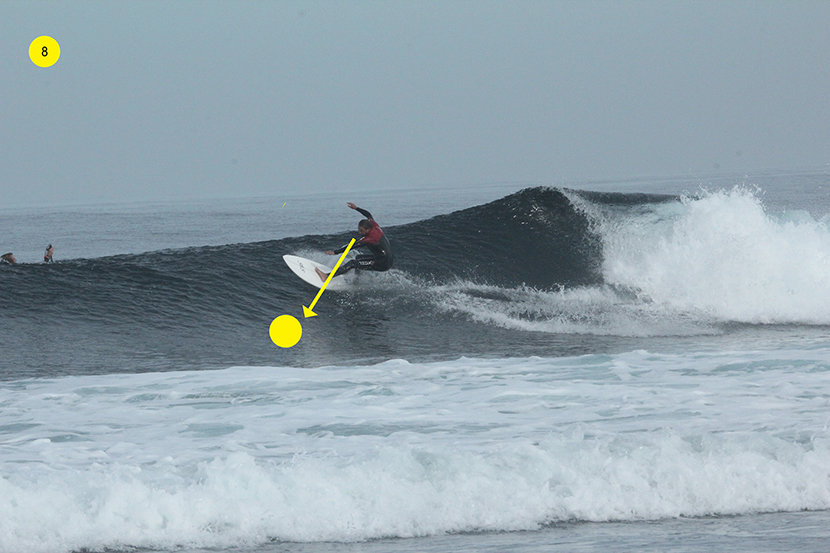
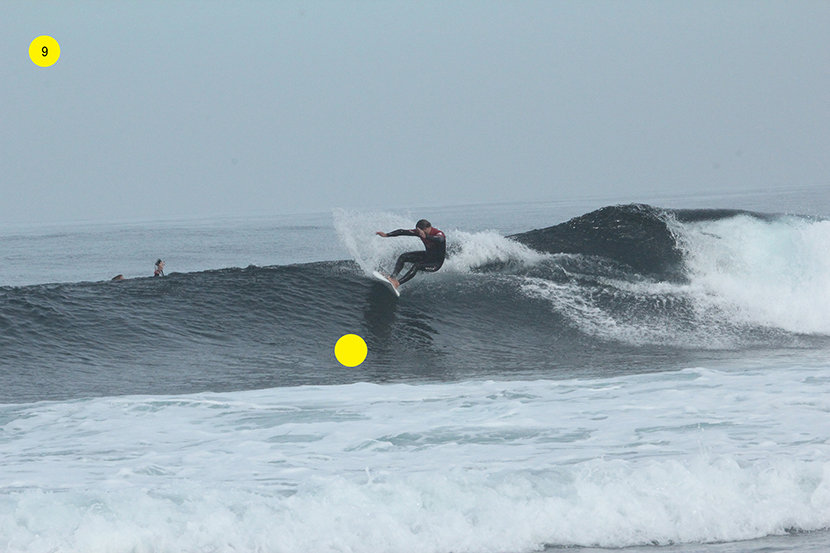
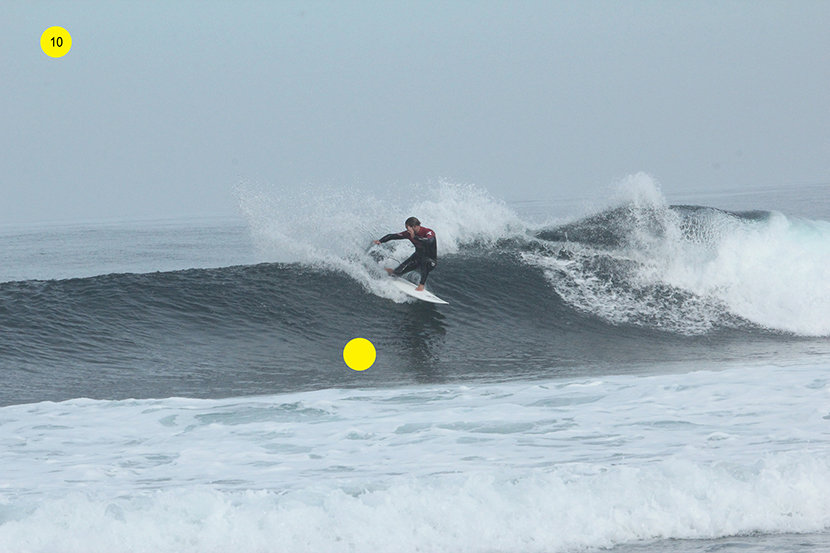
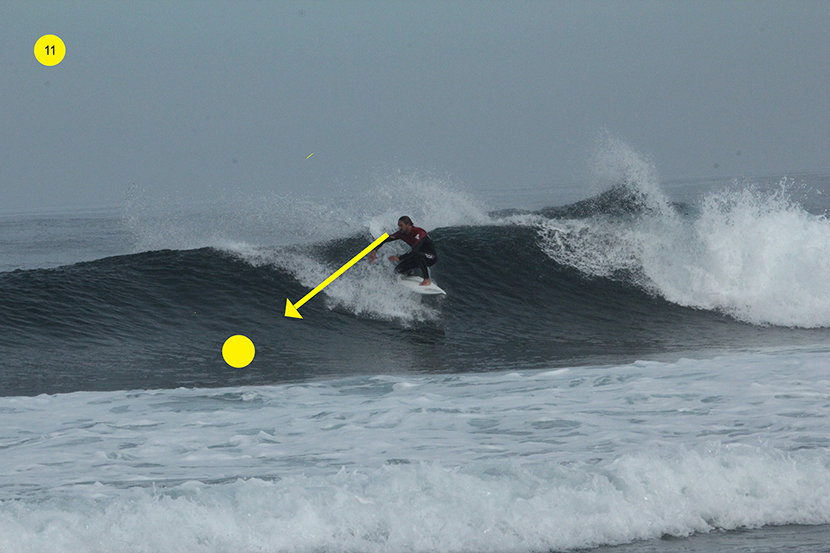
Kelly Slater – How to Carve 360 in Surfing … Yes when Kelly speaks we listen carve game and Airs in surfing the 11-time world champ talks about these 2 as totally different styles of surfing and can affect your approach to a wave. also stating that very few surfers can be good at both airs and carves. opening up the question what would you prefer to be known for. Kelly take you through the full stages of turning and compression with some very helpfull videos and exercises to help improve your turning. If there is 1 man that’s in the know its Kelly slater so I guess ill take his word for it.
Related Posts

TOP 20 BEST SUP EXERCISES FOR HOME OR GYM

The Ultimate “KOOK” Test?
The Ultimate surfing Kook test/ 16 reasons you might be a kook
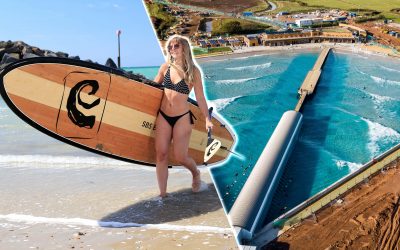
Can you sup at the wave Bristol?
After the explosion in popularity of the wave Bristol surfer alike flocked to Bristol to get some guaranteed waves in perfect conditions but as a paddleboarder as well I asked the question can you use a sup at the wave Bristol. I wasn’t alone after checking out...

The Wave Bristol On Beast Mode
Are You Good Enough To Surf The Wave Bristol On Beast Mode After the flurry of hype and internet clips that went viral in the UK surf scean the wave Bristol is not doubt a massive success and a big hit with the surfers of the UK. With its ideal placement for all the...
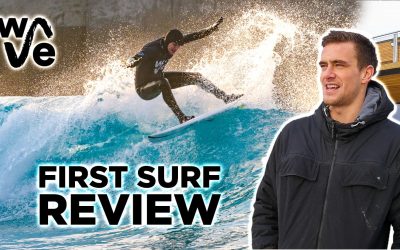
First Surf At The Wave Bristol Review
First Surf At The Wave Bristol Review" In November we took some of our team rider Joss to check out the wave garden Bristol and see what all the fuss was about. When we arrived at the wave Bristol, we were pleasantly surprised and the incredible facility they have...
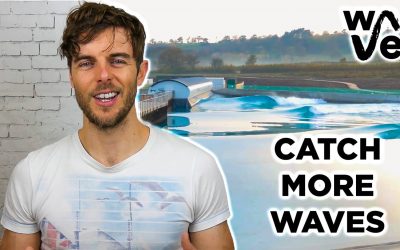
5 Top Tips To Catch More Waves At “The Wave Bristol”
5 top Tips to caTCH waves at "the wave bristol"5 Top Tips To Catching More Waves In 2019 were lucky enough to be some of the first to surf the wave Bristol which is the world first fully commercial wave garden using the cove technology. We travelled up to Bristol to...