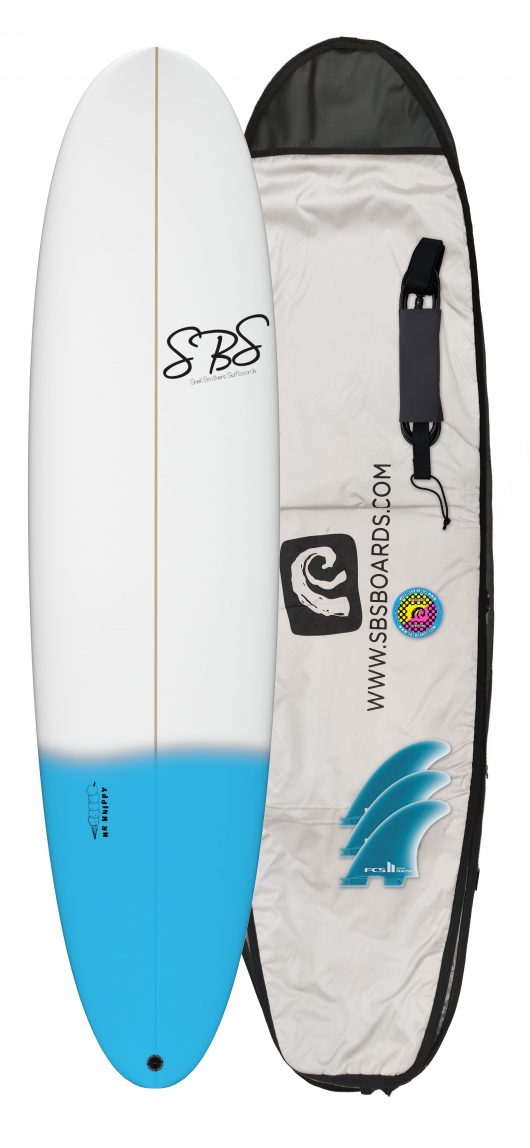
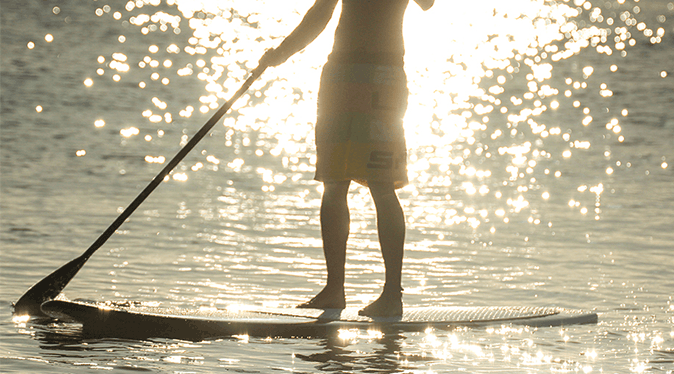
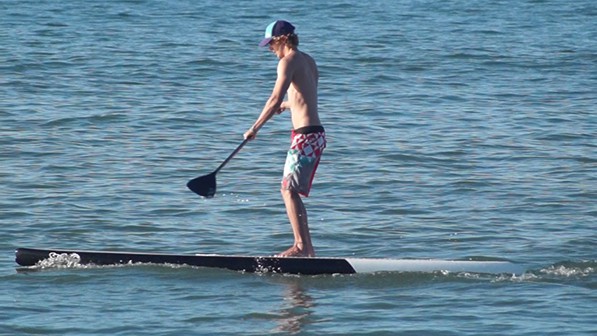
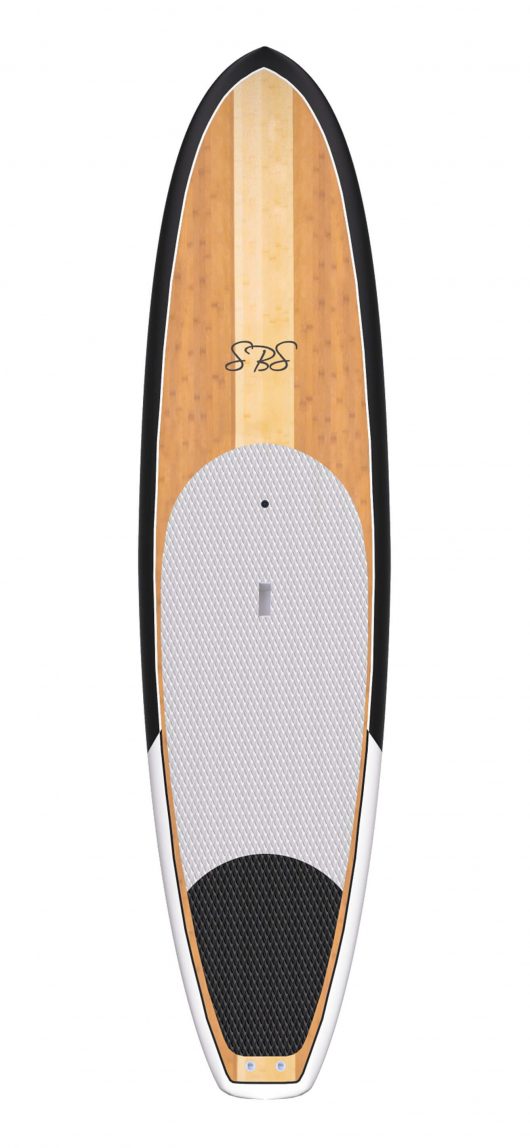
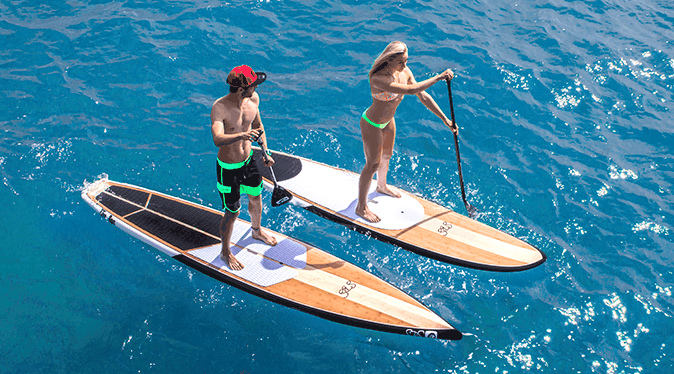
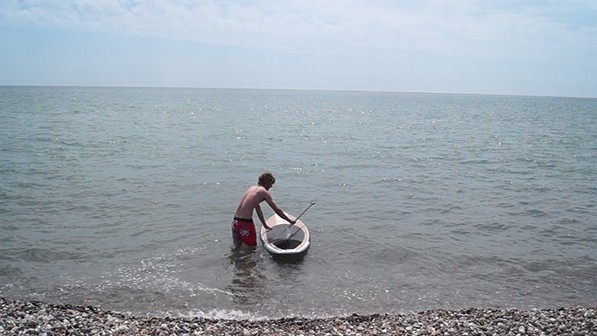
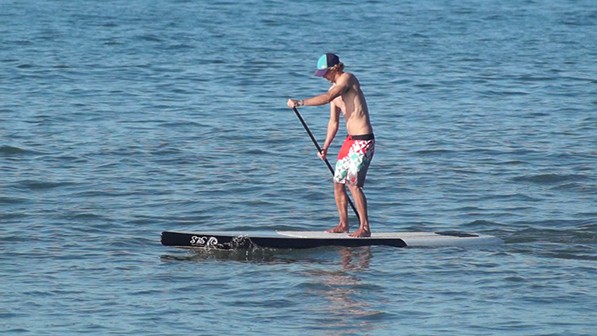
The Don is our big board for big distances, its our high performance SUP for touring, fitness, and racing. Its all-around streamline design is perfect for flat-water performance, recreational users as well as open ocean long distance competitors looking for a board...
Best Stretches for Surfers
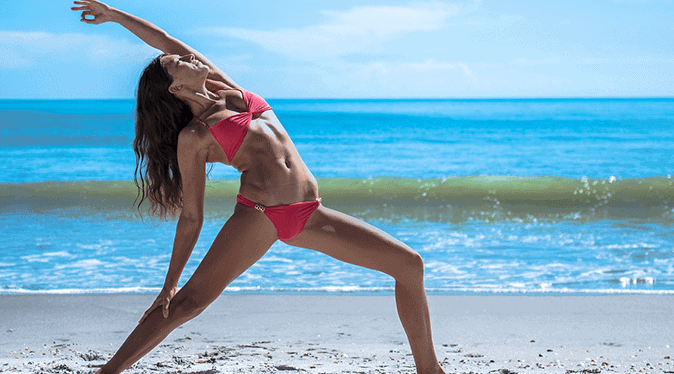
BEST STRETCHES FOR SURFERS
Stretching
Stretching before and especial after a surf session is vital for getting the best out of your surfing performance, The best stretches for surfers should help in a range of movements as well as better long-term contractions of your muscles which will help to decrease the risk of cramping up or injury.
It’s also crucial to your recovery from surfing as will help your muscles to recover quicker and be ready for the next surf. Its important to keep in mind to do very light stretching before a surf and try to maximize the time to 7-10 seconds per stretch, Longer stretches should be done after a surf, slowly bringing your muscles back to a normal state. When stretching after your surf, try to hold the stretch for a minimum of 12-15 seconds.
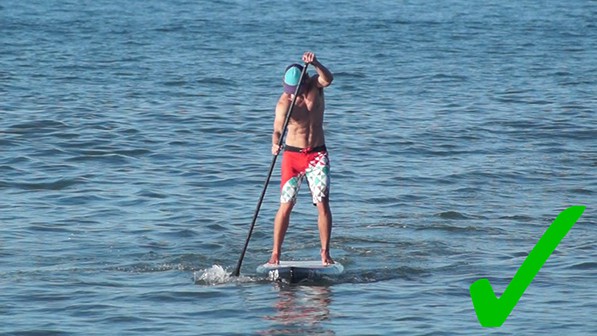
Stretch: Side Neck stretch
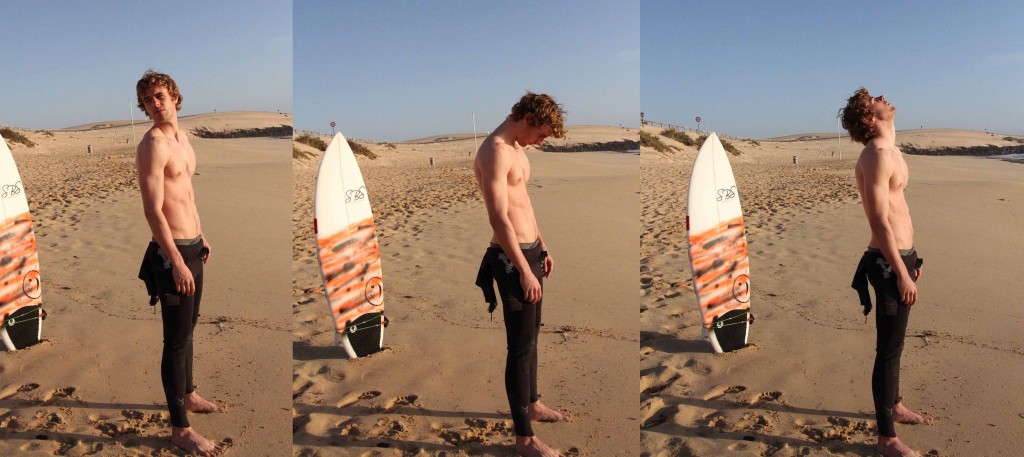
How to perform:S tart with your shoulders relaxed, gently tilt your head towards your shoulder. Assist stretch with a gentle pull on the side of the head if need be.
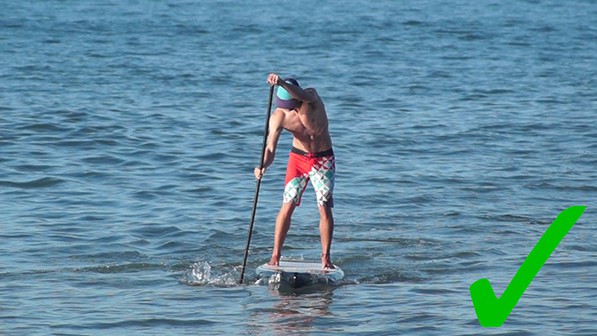
Stretch: Static Overhead stretch
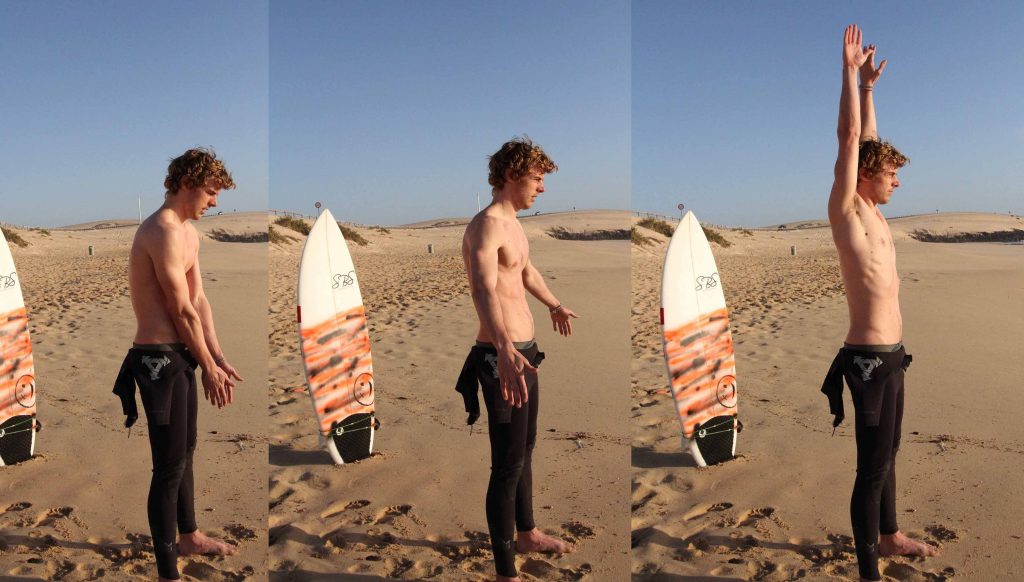
How to perform:S tanding straight up, start with your hand by your waist and slowly bring them above your head. Keep your shoulders down as you extend your arms upand holf as hight as you can for 12-15 seconds.
Stretch: Static chest stretch
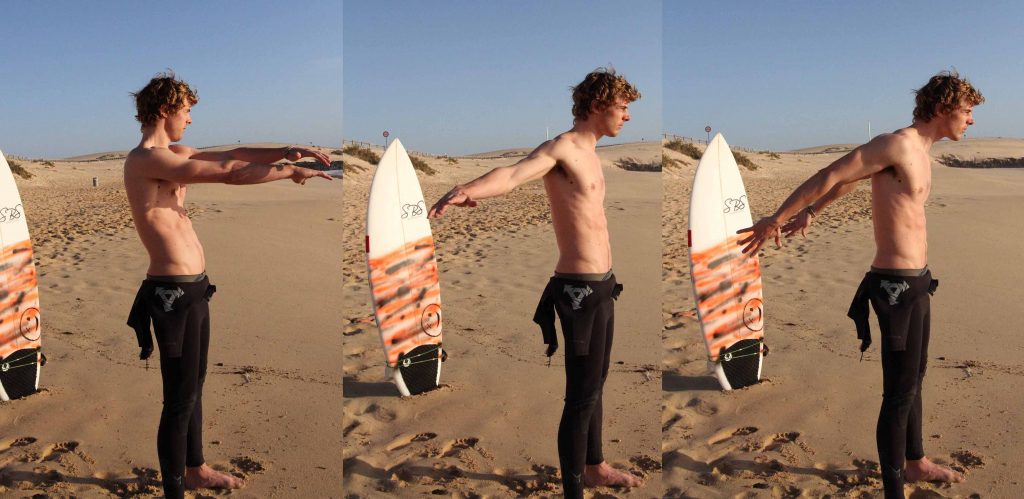
How to perform: Stand with your hands together, arms extended directly in front of you. This will be your starting position. Keeping your arms straight, for 12-15 seconds then move your arms back as far as possible and hold them together as straight as you can for 12-15 seconds.
Stretch: lying cross over “knee across body”
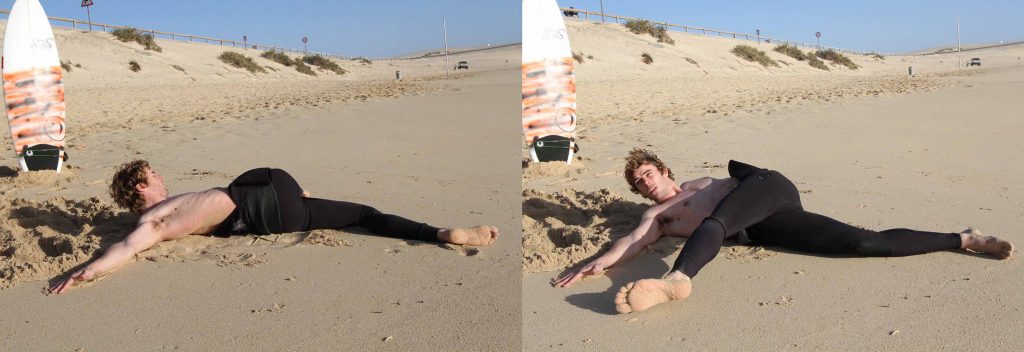
How to perform: Lie on your back with your legs extended. Cross one leg over your body with the knee bent, attempting to touch the knee to the ground. Your partner should kneel beside you, holding your shoulder down with one hand and controlling the crossed leg with the other. This will be your starting position. Attempt to raise the bent knee off of the ground as your partner prevents any actual movement. relax the leg repeat with the other side.
Stretch: Cross over reverse lunge
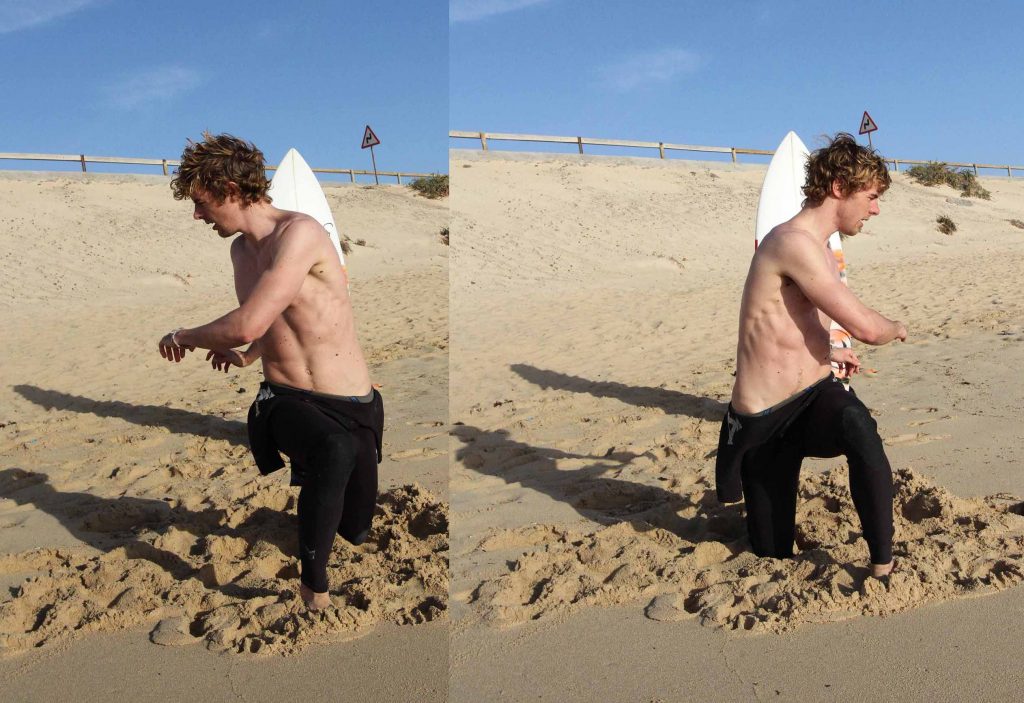
How to perform: Stand with your feet shoulder width apart. This will be your starting position. Perform a rear lunge by stepping back with one foot and flexing the hips and front knee. As you do so, rotate your torso across the front leg. After a brief pause, return to the starting position and repeat on the other side, continuing in an alternating fashion.
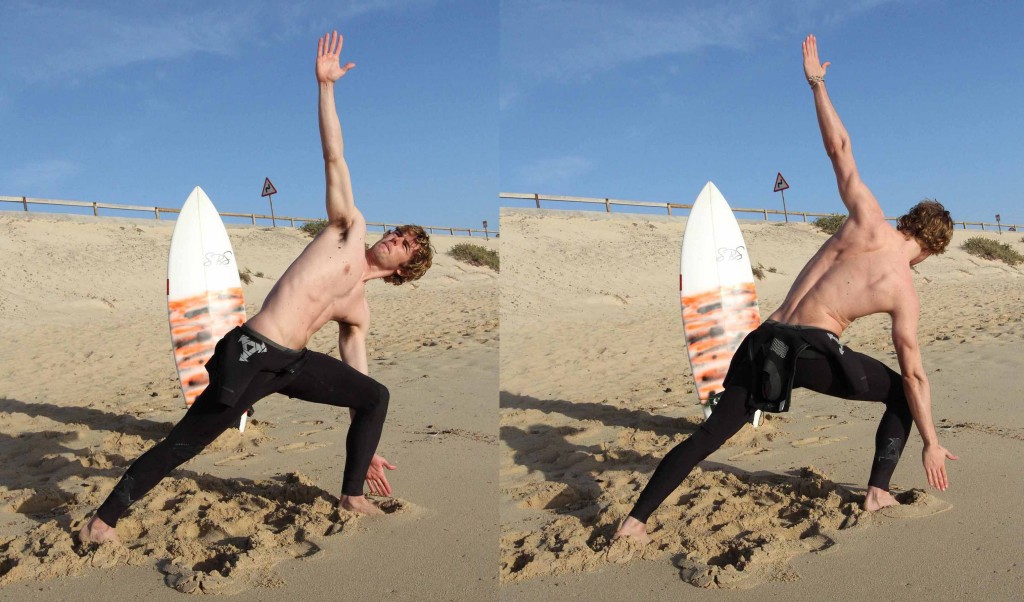
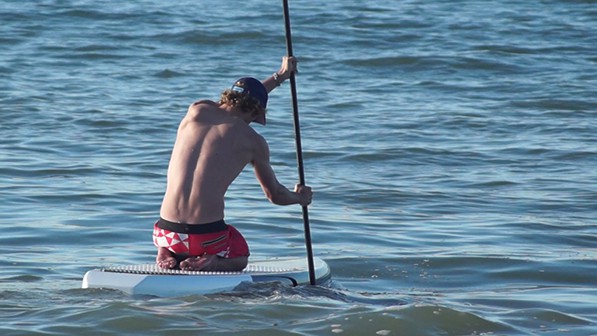
Stretch: High Lunge
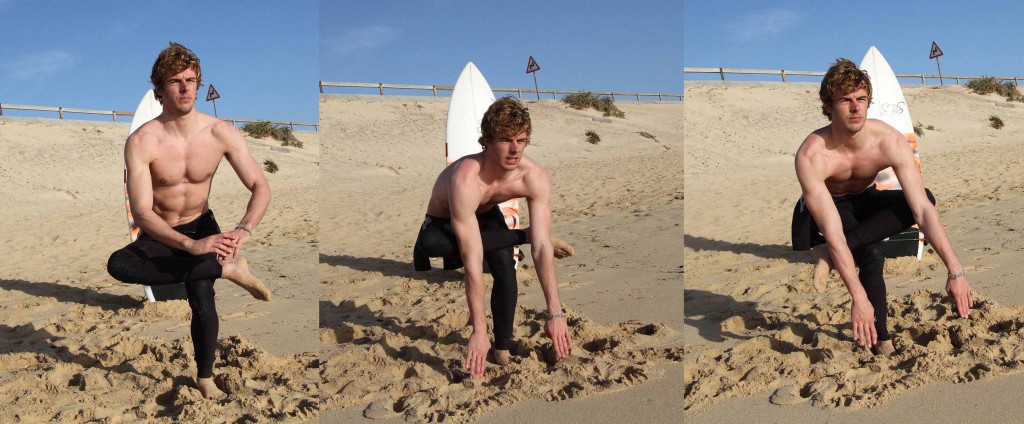
How to perform: . High Lunge: Benefits: Stretches and strengthens your legs, especially thighs, knees, ankles and psoas muscle; opens the groins and hips, and lengthens the spine. Benefits: Stretches and strengthens your legs, especially thighs, knees, ankles and psoas muscle; opens the groins and hips, and lengthens the spine.
Benefits: Releases tight hips, hamstrings and back muscles.
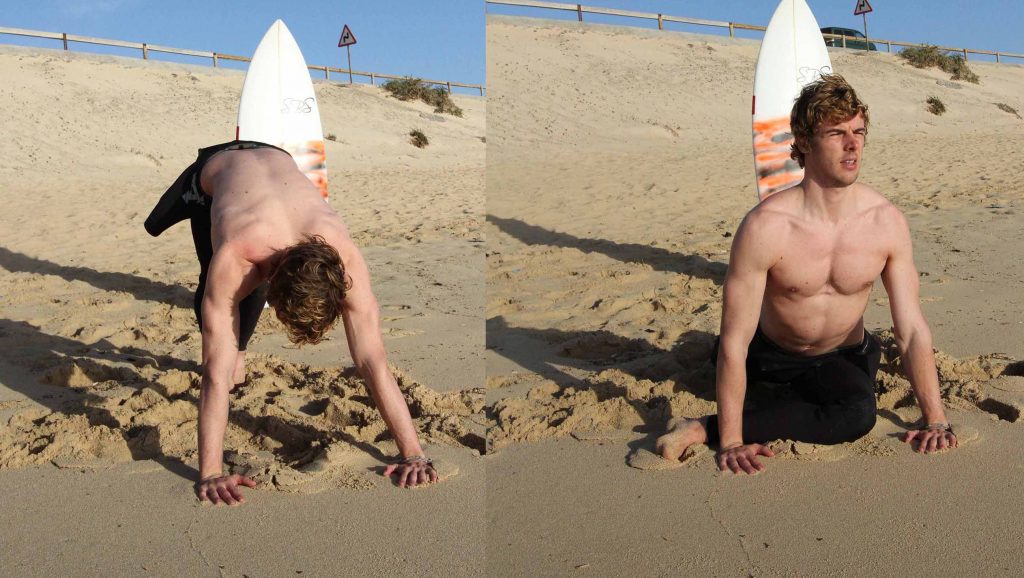
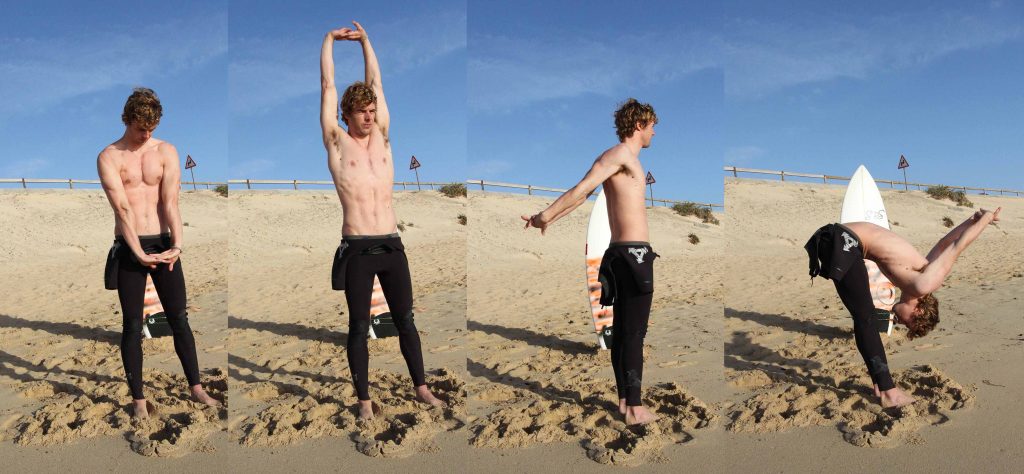
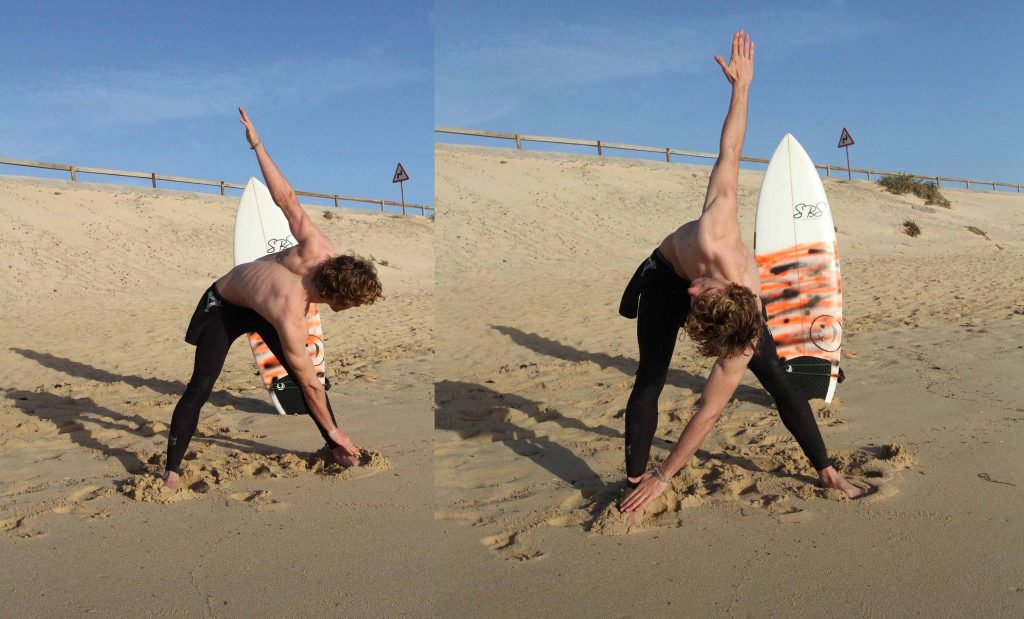
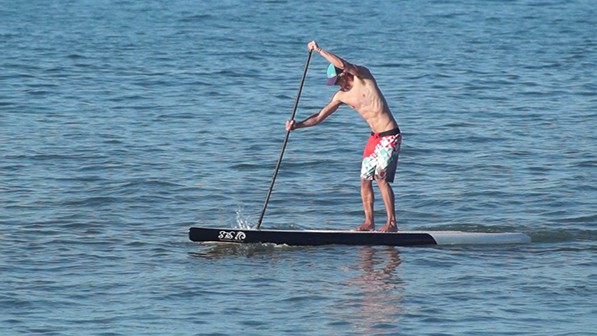
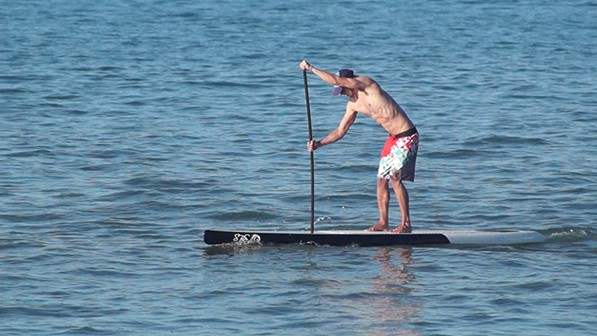
Stretch: Standing Toe Touch
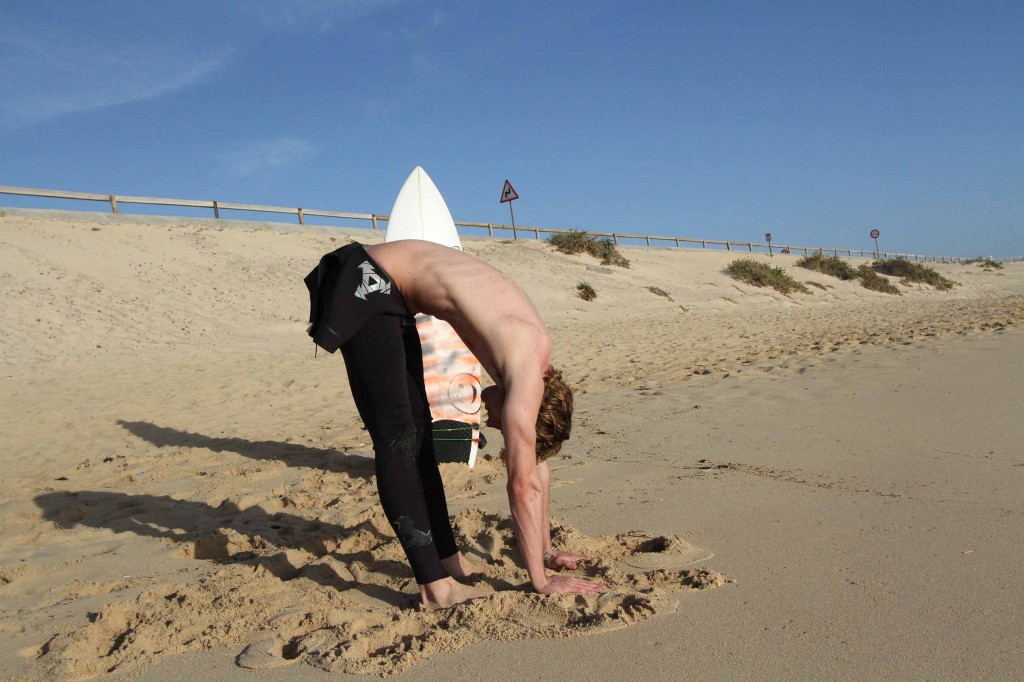
How to perform: Stand with some space in front and behind you. Bend at the waist, keeping your legs straight; until you can relax and let your upper body hang down in front of you. Let your arms and hands hang down naturally. Hold for 10 to 20 seconds.
Improves the flexibility of the spine which is important for long paddle outs. stretches the shoulders and the backs of the legs, which will allow your surfing stance to be more relaxed.
Stretch: Hip gluteus stretch
How to perform: The gluteus are dominant in most lower-body power moves. Go to the bottom of a lunge and place your back knee on the ground. Slide your front foot forward and drop the knee out to the side. Place your hands on the ground on either side of the foot. Lower your chest towards the ground. Lean down further to increase the stretch. Hold for 12-15 seconds then change.
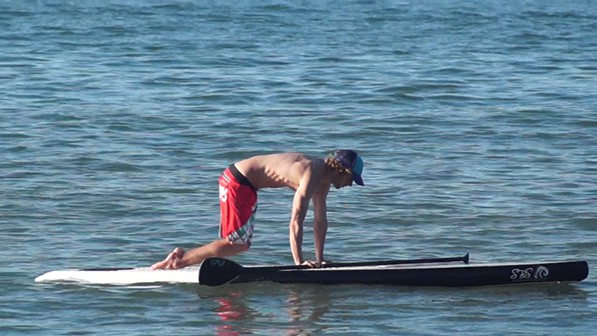
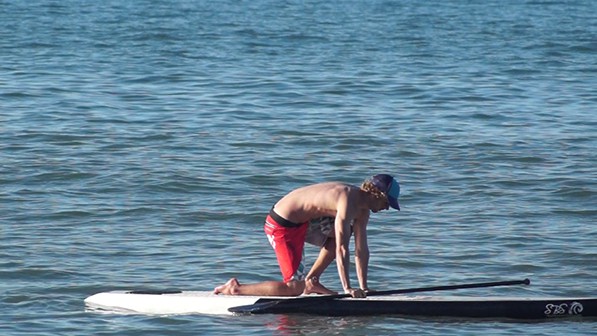
Stretch: Back Stretch/ Cat Stretch/ Kneeling Quad Stretch / On Your back Quad Stretch
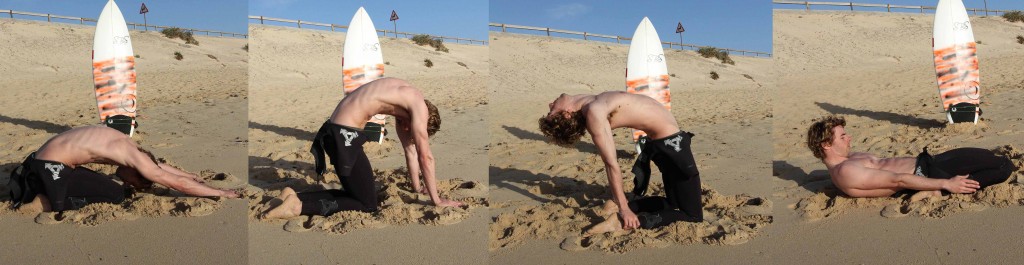
How to perform:
-
Start with your hand on the floor shoulder with apart in a kneeling position; slowly maintain the actual natural curve from the spine, down their back. Hold the stretch for 12-15 seconds.
-
Start with yourself on the floor on your hands and knees. Pull your belly in and round your spine, lower back, shoulders, and neck, letting your head drop. Hold for 15 seconds.
-
Kneel on the floor, holding your heels with both hands. Push your buttocks up and forward while bringing your head back to look up at the ceiling, to give an arch in your back. hold for 12-15 seconds.
-
Lie flat on the floor, and hang one leg and arm over the side. Bend the knee and hold the top of the foot. As you do this, be careful not to arch your lower back.
Stretch: Standing Knee To Chest
How to perform: Helps to relieve tight hip muscles and lower back and increase the range of motion particulary helping flexing of the knee, start in a balanced standing position gently raise one bent knee up enough so you can grasp your lower leg with both hands. Gently pull your bent knee toward your trunk using your hands. Relax your legs, pelvis and low back as much as you can while you pull. Hold for 12-15 seconds return leg to the floor, repeat on other side.
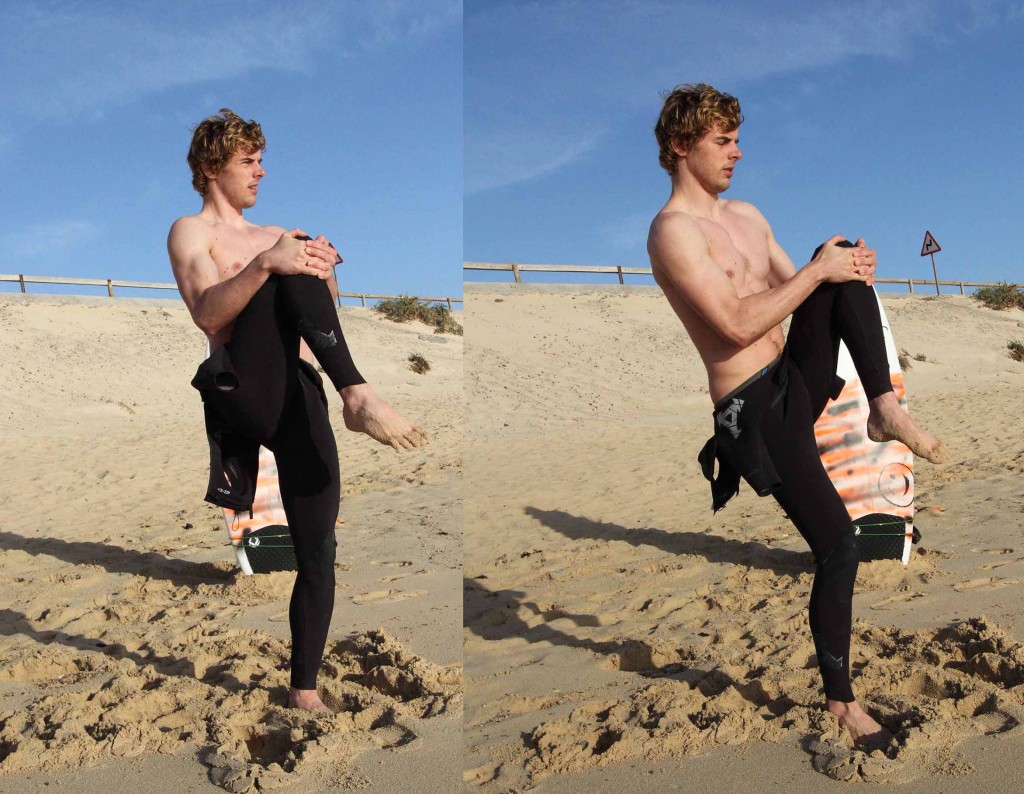
Stretch: Standing Quadriceps
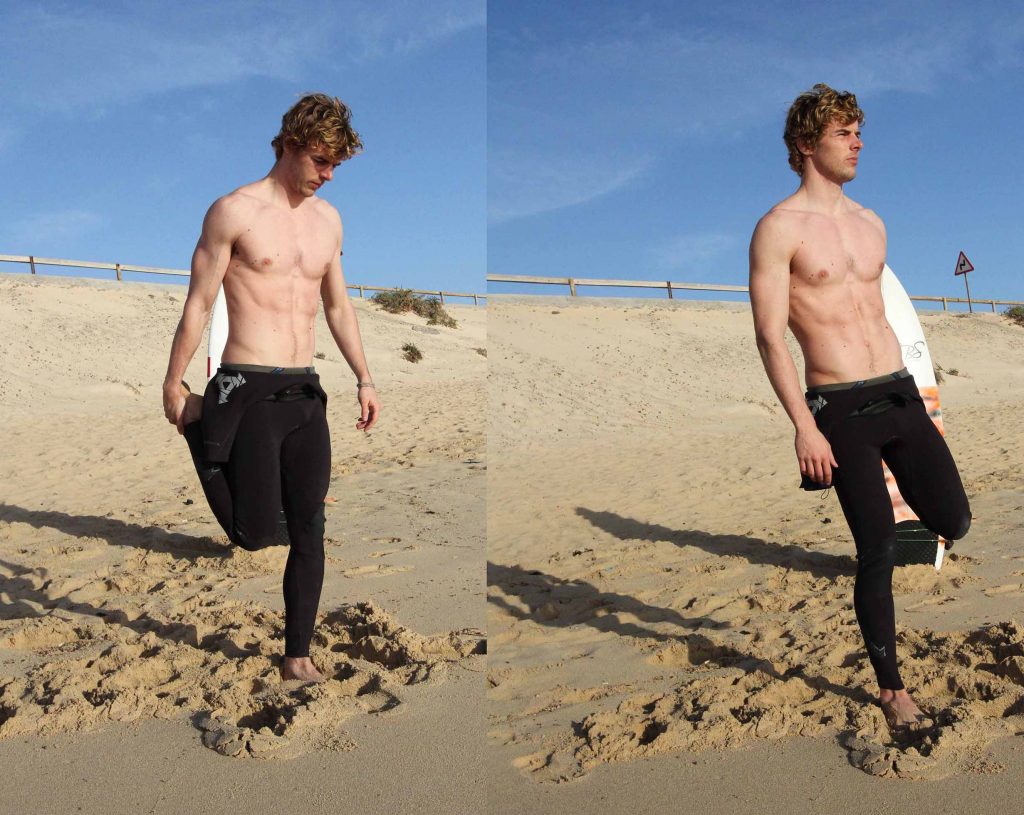
How to perform: Boat Pose: Benefits: Strengthens your core, and helps with deep breathing.
Stretch: Spiderman stretch
How to perform: helps mobilize the hips and the spine helping in the popup and turning. Start with your feet together and hand in a “T” shape by your side and lunge forward.
Stretch: Extended arm & shoulder stretch
How to perform: Start in a standing position with your fingers clasped together and thumbs pointing down push as hard to the floor as you can and slowly move your braced arms in front of your chest then up to the sky. Disconnect your finger briefly as you then reconnect behind your back making a wide circular motion. For an extra stretch lean forward.
Stretch: Triceps stretch
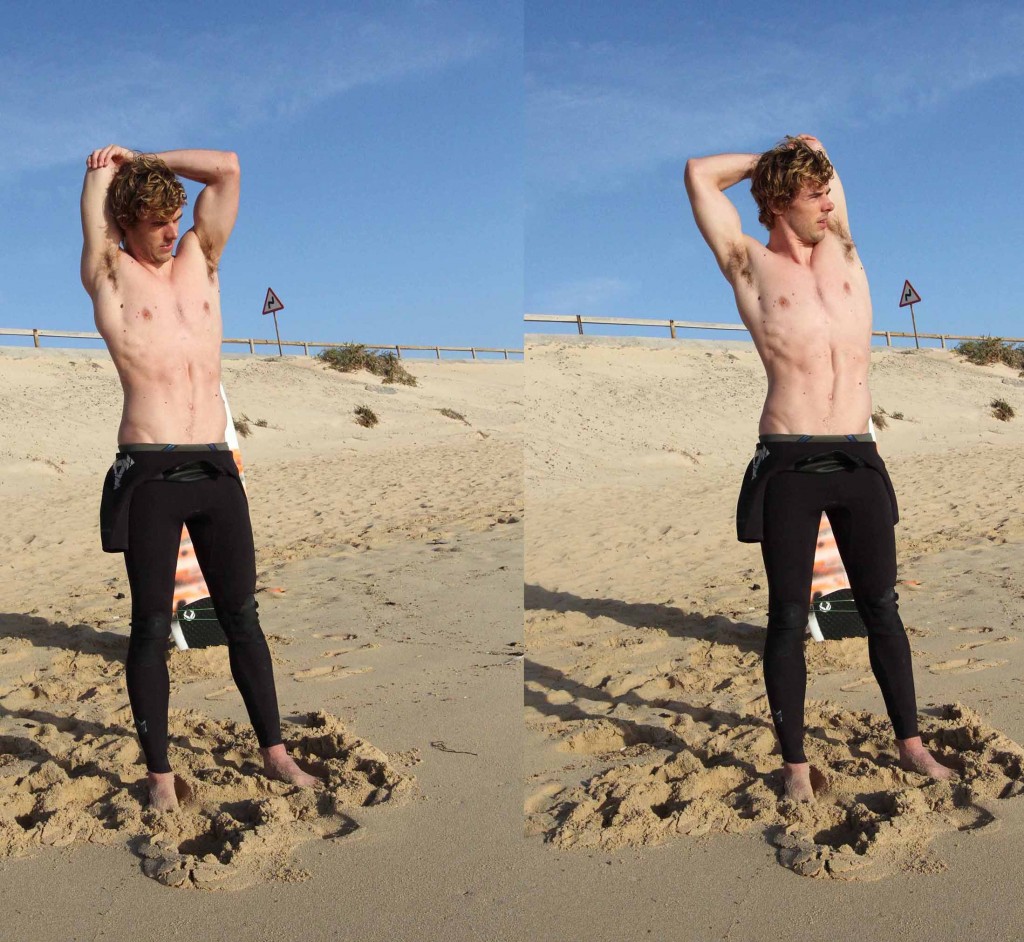
How to perform: Reach your hand behind your head, grasp your elbow and gently pull. Hold for 10 to 20 seconds, and then switch sides.
Stretch: Shoulder stretch
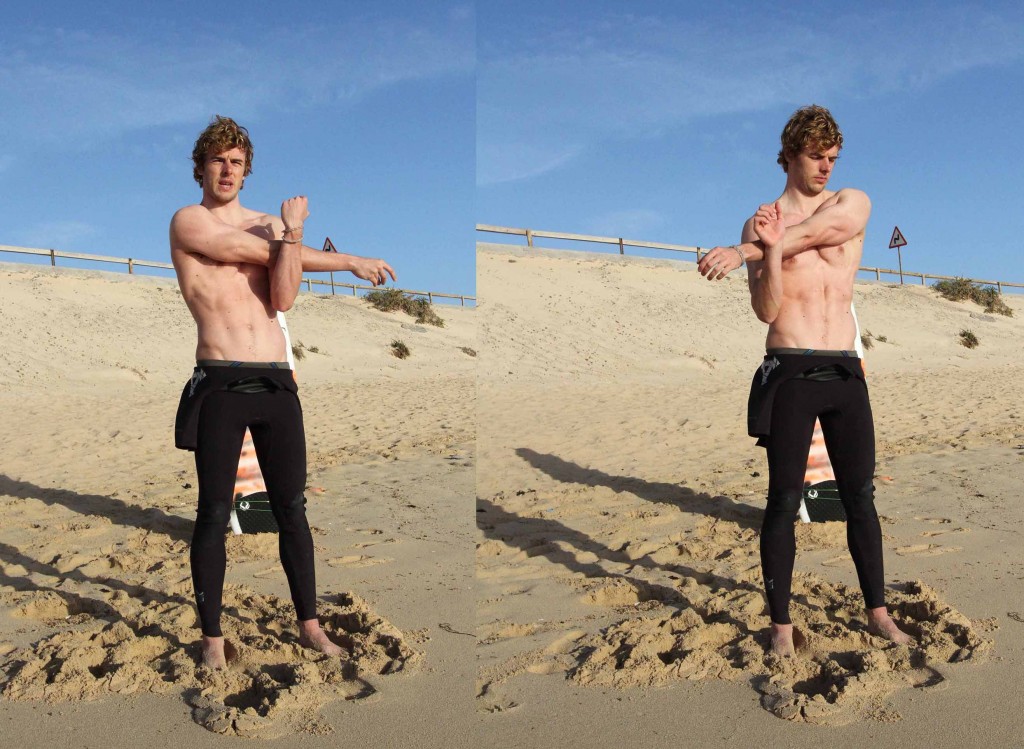
How to perform: Reach your left arm across your body and hold it straight. With your right hand, grasp your left elbow and pull it across your body towards your chest.
Stretch: Standing lateral stretch
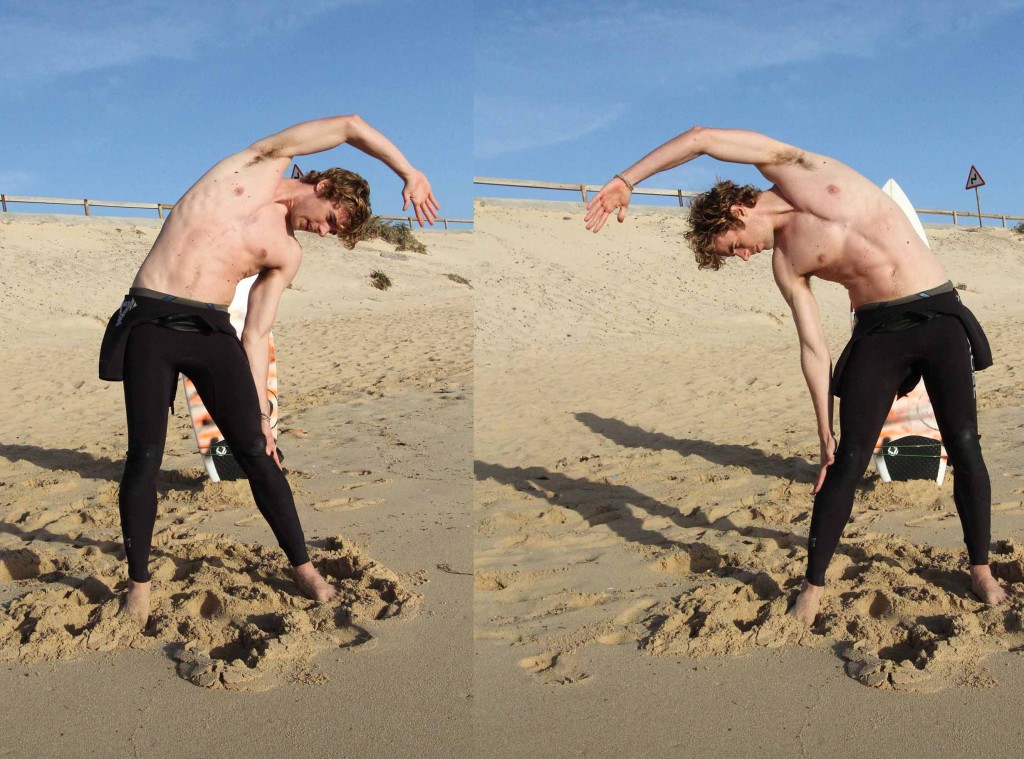
How to perform: Arch side – Slowly reach one arm over your head, keeping your arms in line with the hips. Take a slightly wider than hip distance stance with your knees slightly bent. Place your right hand on your right hip to support the spine.
Raise your left arm in a vertical line and place your left hand behind your head. Keep it there as you incline your torso to the right. Keep your weight evenly distributed between both legs (don’t lean into your left hip). Switch sides.
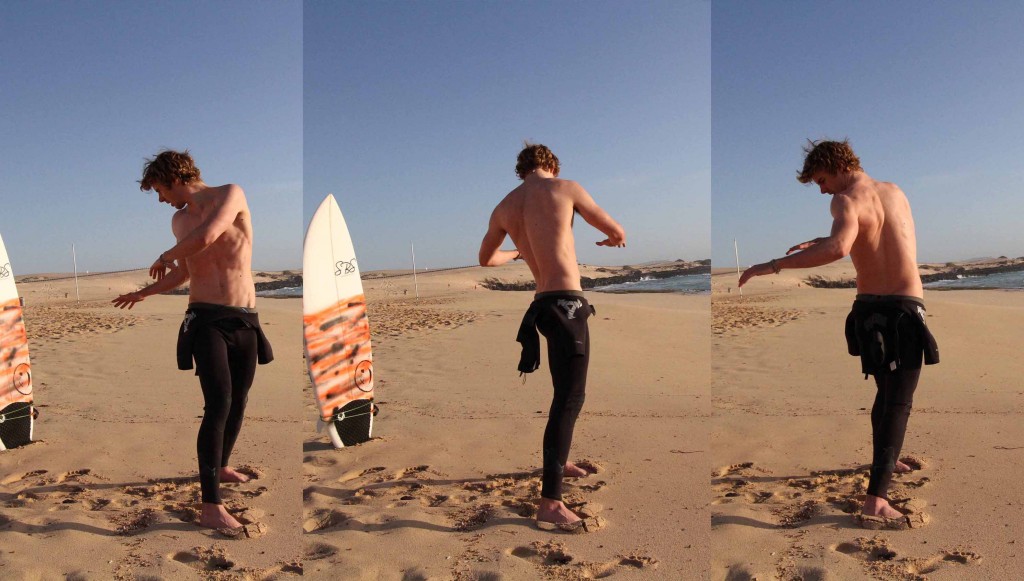
Stretch: Foot twirl
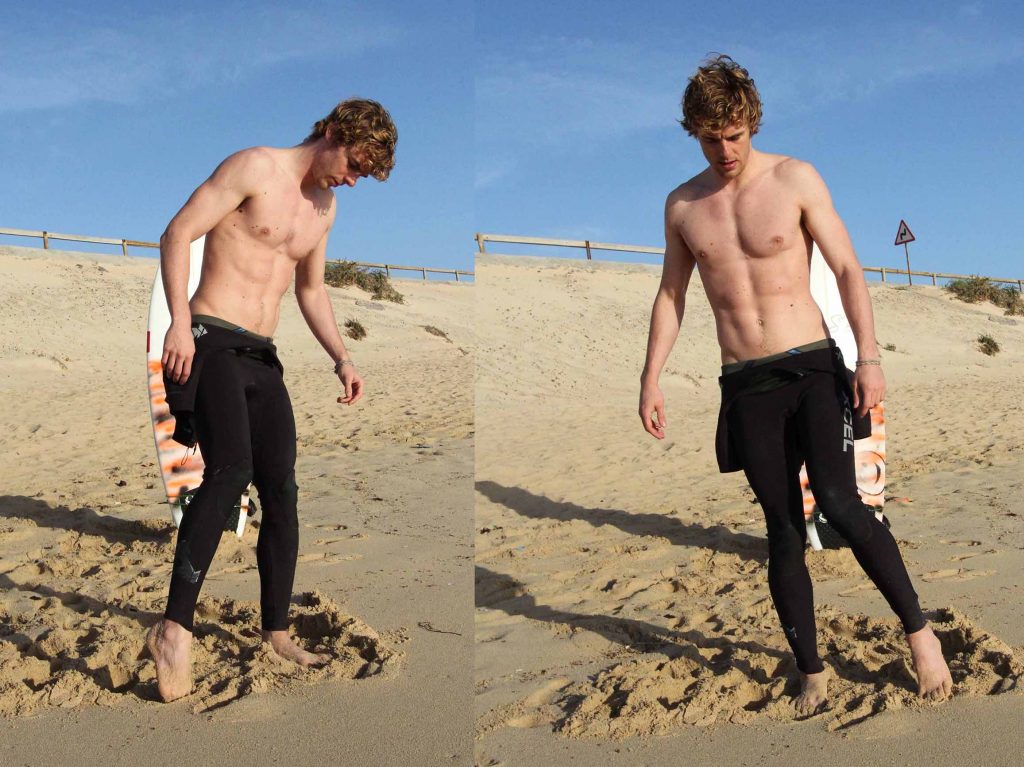
How to perform: Lift the right leg in the air (just around 2 inches from the floor) and perform a circular motion with the big toe. Pretend that you are drawing a big circle with it. Tip: One circle equals 1 repetition. Breathe normally as you perform the movement. When you are done with the right foot repeat with the left leg.
Stretch: Standing hamstring and calf stretch

How to perform: Hamstrings – The hamstring stretch is a great post surfing stretch, use it very lightly as a pre surf movement. Sit up straight on an exercise mat. Bend one knee and put that foot on the floor to stabilize the torso. Straighten your other leg and flex your ankle. Using a band, towel, or your hand if you can reach, pulls the toes toward you. Hold for 10 to 20 seconds, and then switch sides.
Stretch: Alternative To touches
How to perform: stand with your feet slightly wider than shoulder width apart bend down and try and touch your left foot with your right arm and then switch and repeat with the other foot do 8-10 reps.
Stretch: Torso Rotations
How to perform: Stand upright holding an exercise ball with both hands. Extend your arms so the ball is straight out in front of you. This will be your starting position. Rotate your torso to one side, keeping your eyes looking at your hands and hold for 12-15 seconds. Now, rotate back to the opposite direction. Repeat for 10-20 repetitions.
Related Posts

SUP MAG Review – The Longbow

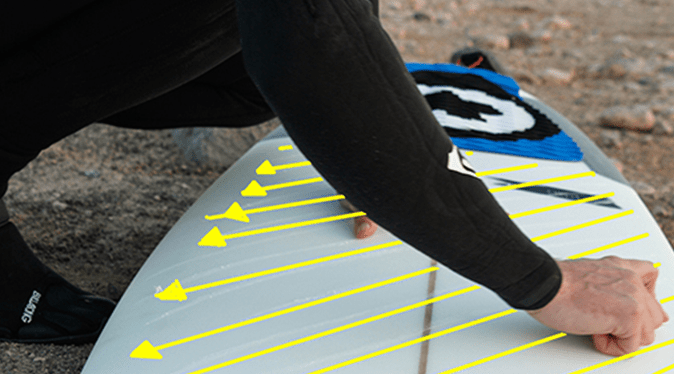
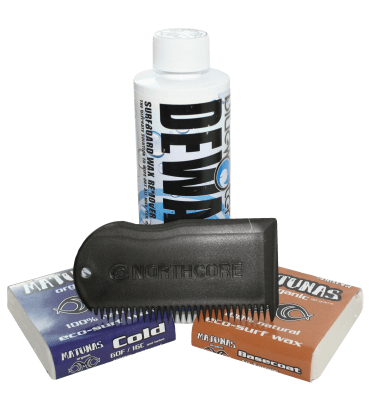
10 Essentials For Cold Water Surfing
When winter rolls around you know that the waves come in “usually”. This means cold waters heading your way. Surfing in the winter can be great or awful depending on how prepared you are. Don't let the cold stop you from having an awesome surf. Whether you're a...

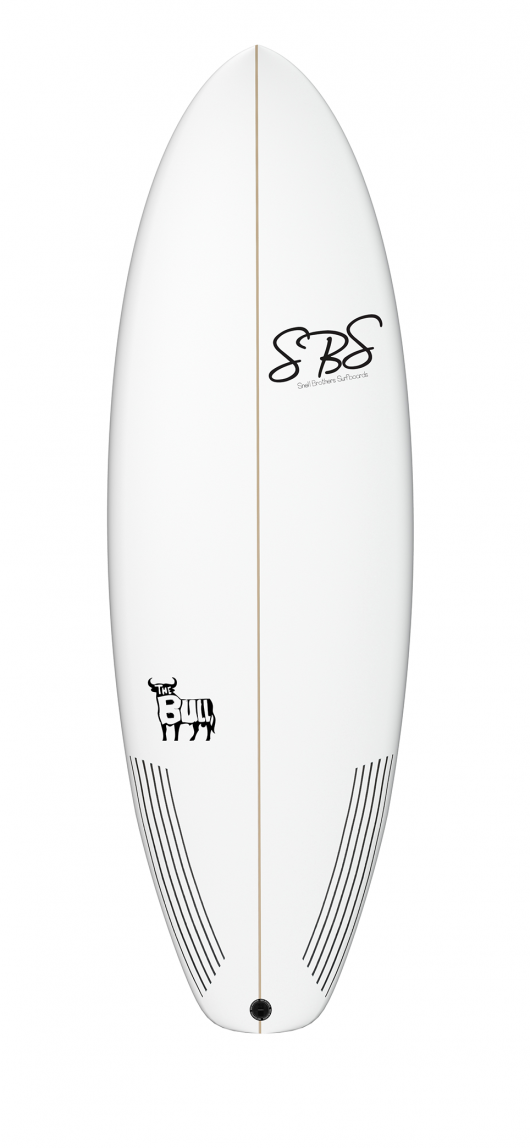
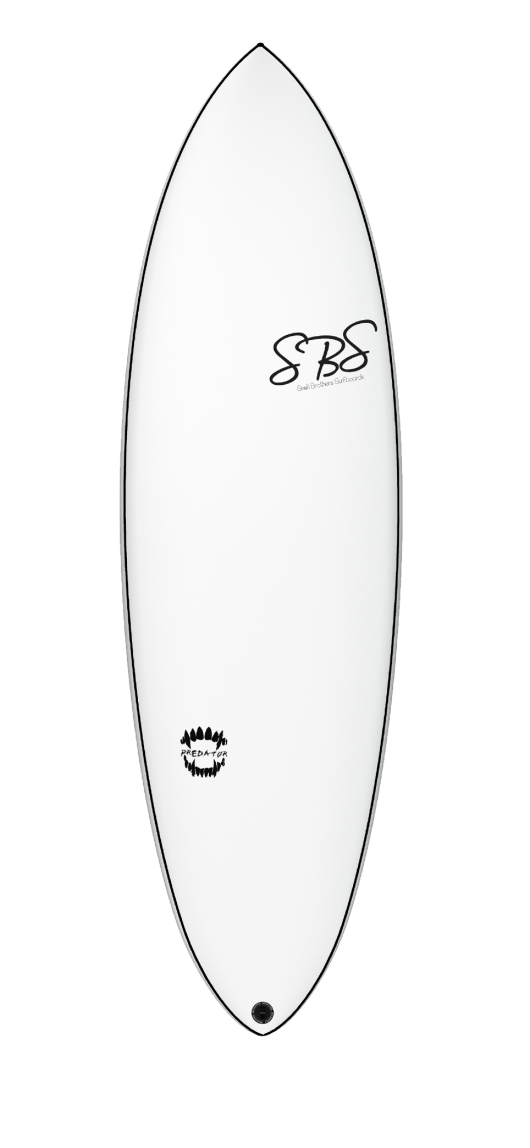
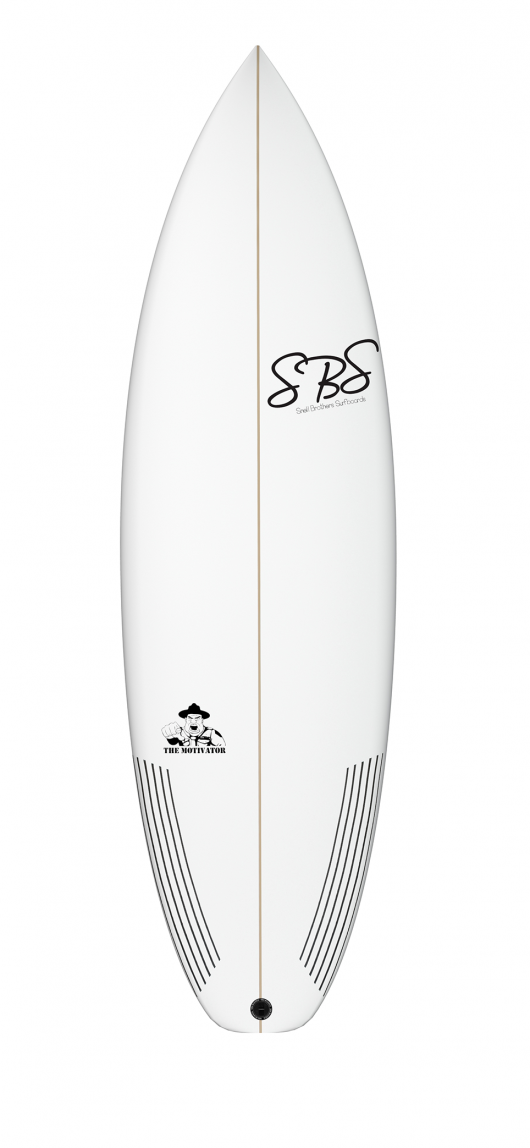
Best 2019 NEW Surfboards
In 2019 SBS Boards are bringing you the very best in our NEW surfboard range with some brand new construction using our full flex and rapid flex technology aswell as some brand new shapes and designs just for 2019 we have revamped and improved our classic favourites...
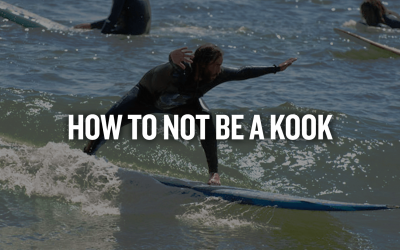
HOW TO NOT BE A KOOK
HOW TO KNOW IF YOUR A KOOK Other Sports you may be called a poser. Someone pretending to be better than he/she is and is very clear to see after a short period of time they're definitely not as good as they think SO WHAT IS A KOOK? Surfers seem to have their own...

What A Vegan Surfer Eats In 1 Day
With the growing movement of veganism in the UK and the rest of the world, we wanted to explore what it means to be a vegan surfer in the UK. as our video above shows one of our team rider JACK and what he eats in a day as a vegan surfer in the UK Veganism has quite...
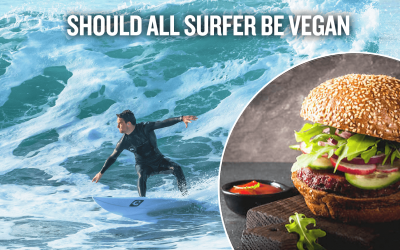
Should All Surfers Be VEGAN?
With so much hype about the environment and Veganism in the news and media, we wanted to ask the question: Should all surfers be Vegan? Veganism has grown massively around the world in the last few years, in increase in popularity has been especially noticeable here...


