The Wave Garden Bristol “First Look”The Wave Bristol Has released its first short video of the waves produced by wave garden specifically wave garden cove technology and we got say its looks incredible. ever since the first idea of the wave bristol came about we have...
10 Waves To Surf Before You Die
The Top 10 Waves To Surf Before You Die
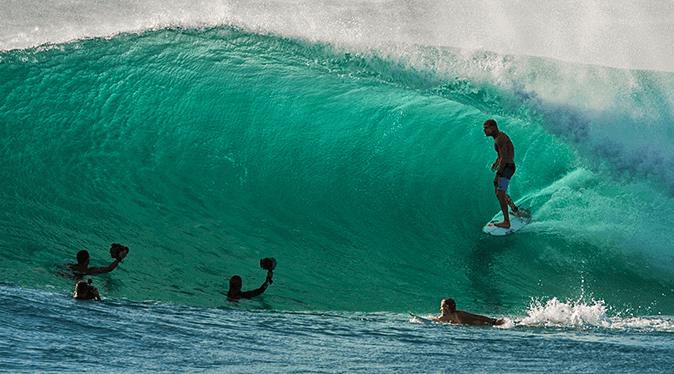
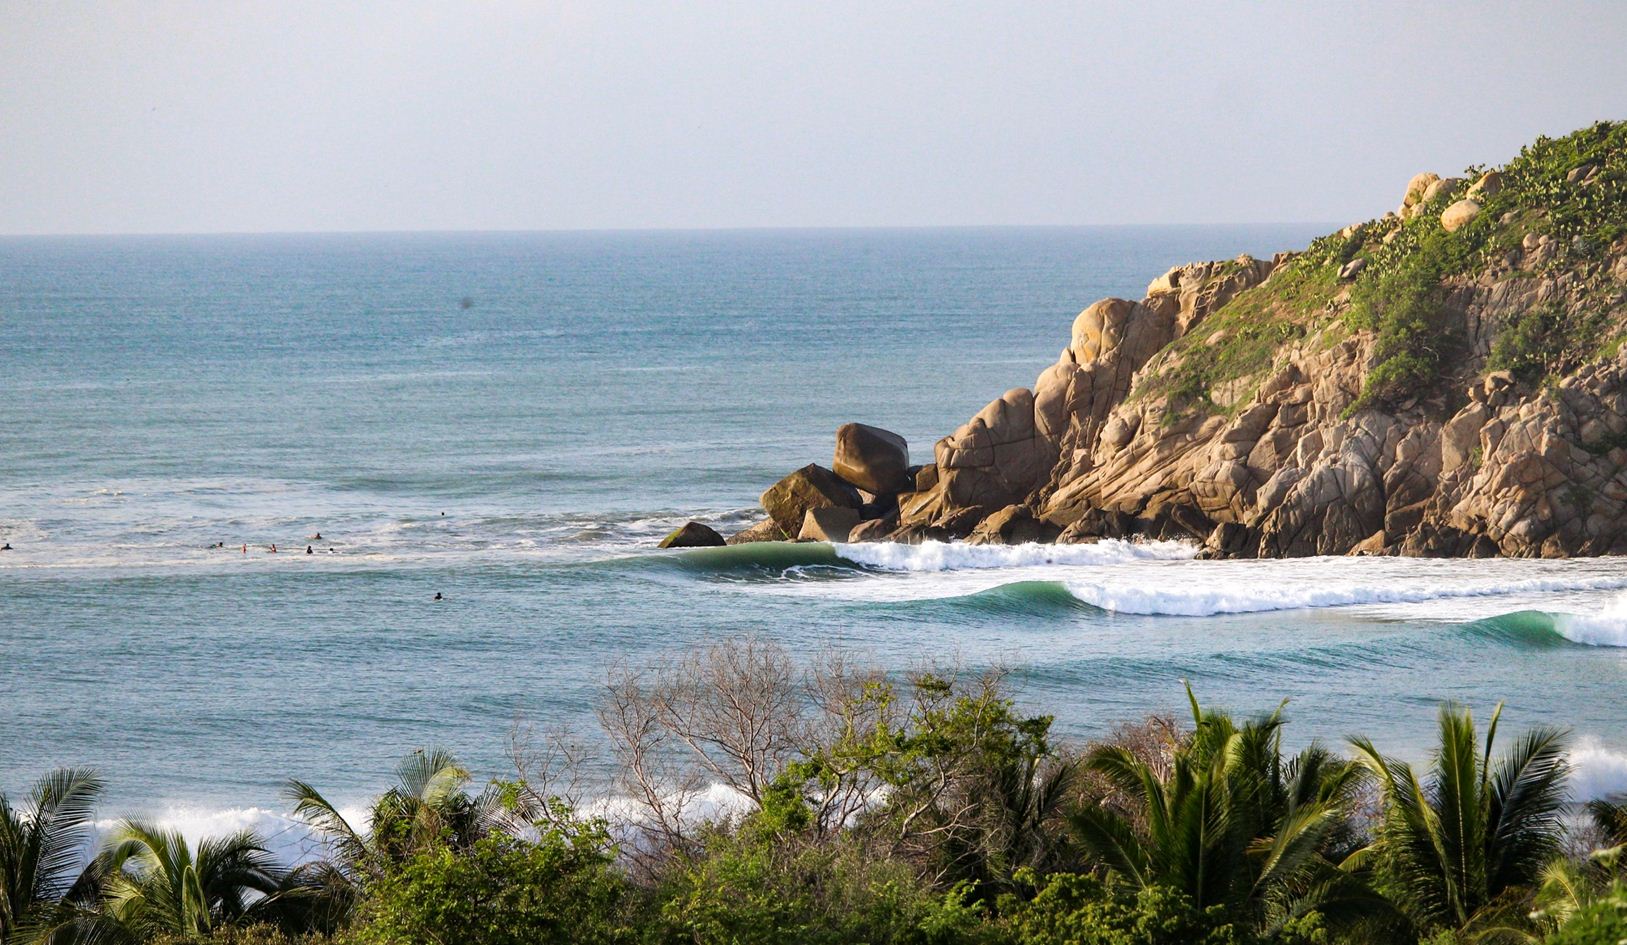
Barra De La Cruz
When: April—October
Where: “Barra” as it’s called, is located 30 minutes from Huatulco in Oaxaca, Mexico.
Why: Unveiled to the surfing world during the epic Rip Curl Search event years ago, with ideal wind, swell direction, tide, and sandbars, Barra De La Cruz is one of the best right-handers in the world with both barrel and turn sections galore.
Local Knowledge: Bring some surf gear to the locals—your kindness could pay off in the form of set waves. And you didn’t hear it from us, but the whole state of Oaxaca is loaded with excellent surf, and thanks to an article in Surfing Magazine that pissed off the locals, no pros with photographers for the next two years.
Lower Trestles
When: April—October
Where: On the border of Orange and San Diego County in SoCal.
Why: A long right and quick, rampy left, Lowers is commonly known as one of the most rippable waves in the world.
Local Knowledge: Beat the crowd by surfing on a Sunday afternoon.

Jeffrey’s Bay
When: April—September
Where: 45 miles from Port Elizabeth on the southern tip of South Africa.
Why: In a world filled with perfect rights, J-Bay stands at the top of the list.
Local Knowledge: Don’t drop in on the guys wearing white jerseys over their wetsuits and time your entry or else you’ll be smashed into the rocks.

Macaronis
When: April—October
Where: In the southern part of the Mentawai Island chain off the coast of Sumatra, Indonesia.
Why: With a barrel off the takeoff followed by a long, smashable wall, it is hands down the most rippable wave in the world.
Local Knowledge: Get photo and video of yourself here—you’ll never surf better than out at Maccas.

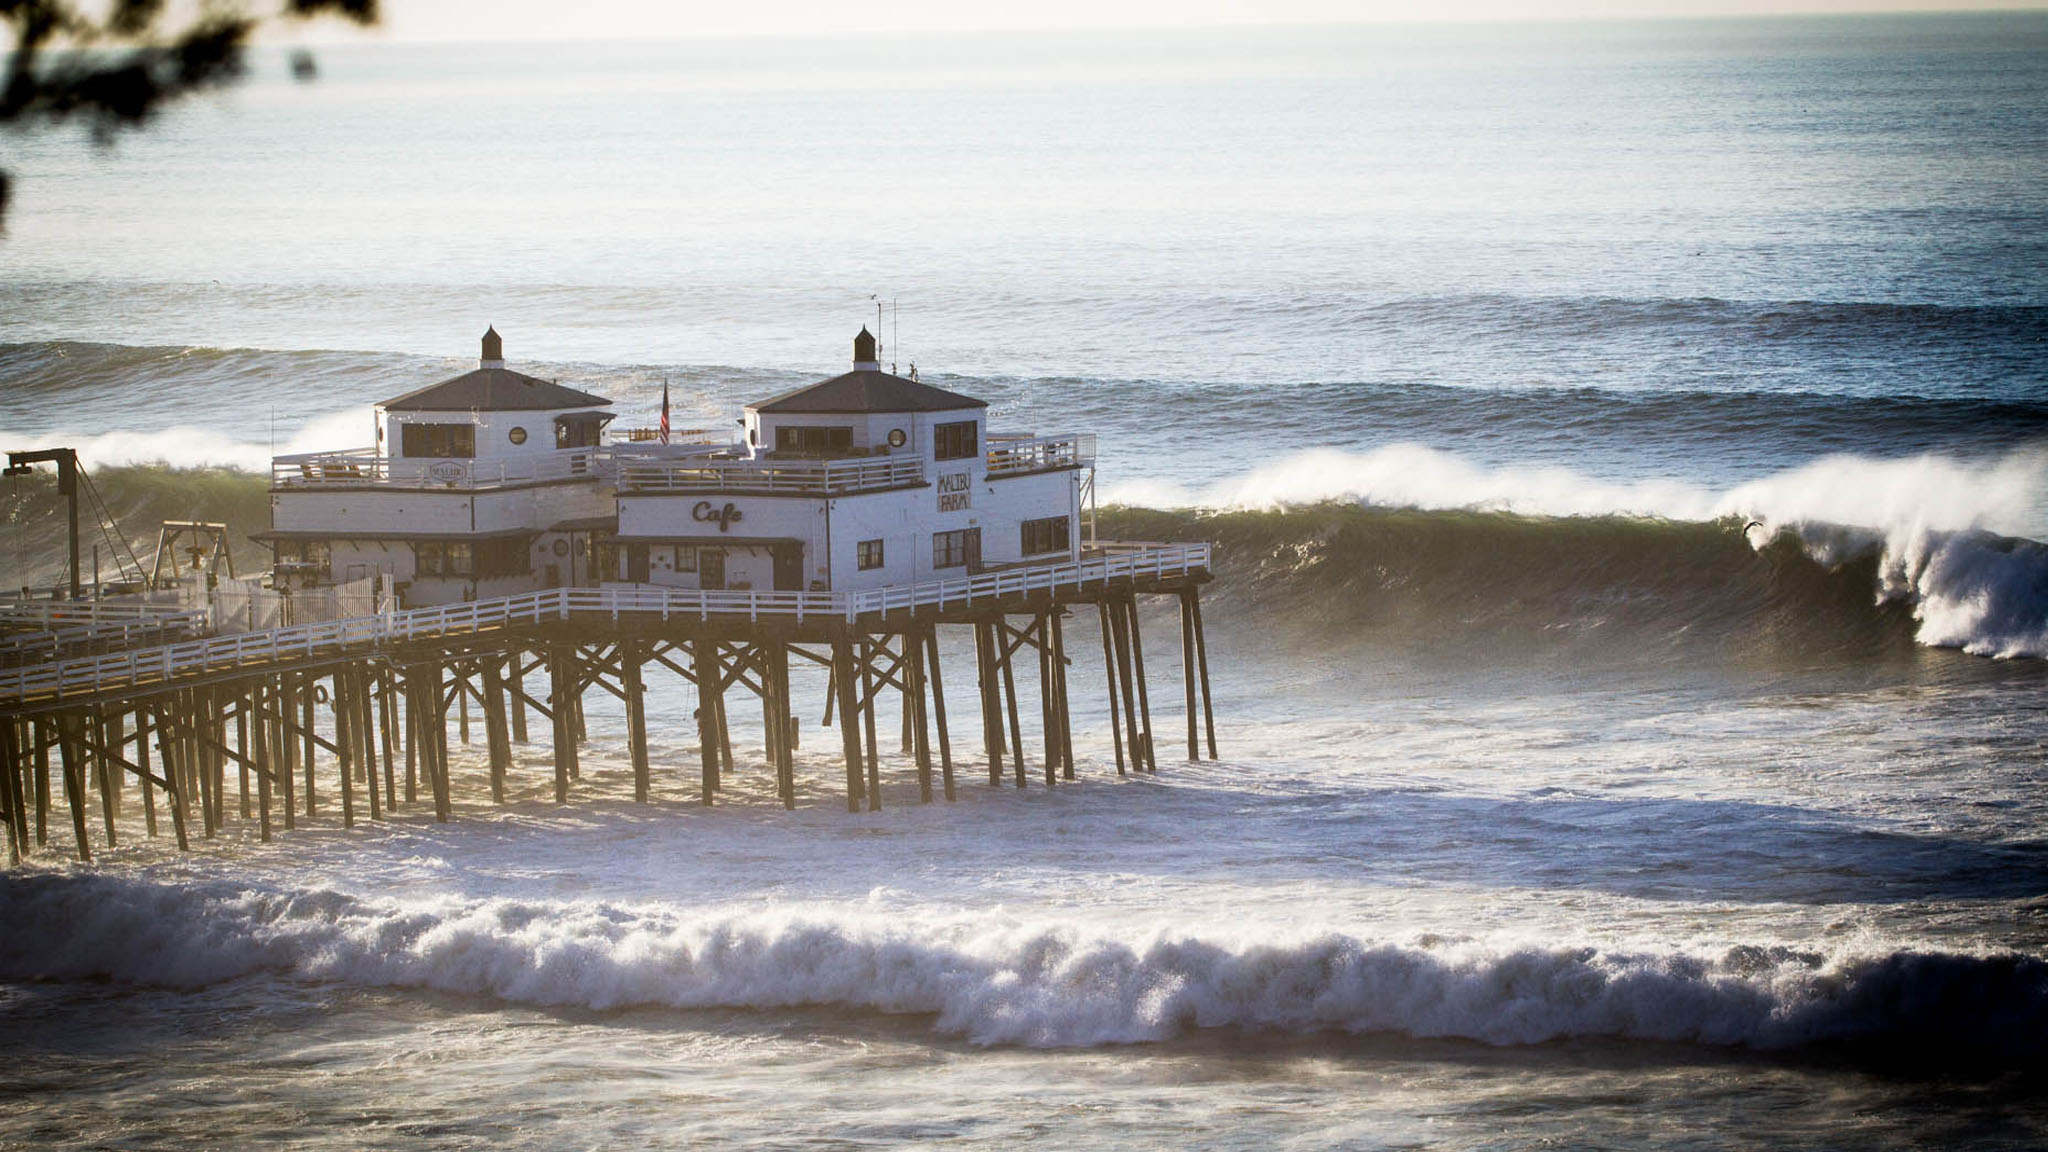
Malibu
When: Year-round but best in the summer months.
Where: The quaint little slice of heaven known as Los Angeles.
Why: Yeah it’s crowded as all hell and you’ll probably get run over by Matthew McConaughey’s SUP but where else can you surf in the shadow of Miki Dora and California’s pioneers?
Local Knowledge: You can drop in on anyone except Allen Sarlo. Movie stars especially are fair game. Malibu.
Restaurants
When: Can break anytime but most consistent April—October.
Where: Tavarua, Fiji.
Why: One of the most perfect left tubes on the planet. On the right wave, you literally sit in the barrel the entire length of the wave.
Local Knowledge: Don’t fall! The bottom at Restaurants is sharp, shallow, and littered with watches, jewelry , fins, skin, and probably a few GoPro cameras.

Snapper Rocks
When: February—July
Where: Coolangatta on the Gold Coast of Australia.
Why: Yeah it’s insanely crowded but it’s also one of the longest, most shred-friendly rights on the planet.
Local Knowledge: Don’t go during the Quiksilver Pro in late February/early March. Sit by the rocks, be aggressive, and you’ll get one eventually.

Pipeline
When: October—April
Where: Smack dab in the middle of the “Seven Mile Miracle” on the North Shore of Oahu.
Why: With the intensely regulated lineup and fiery locals you won’t get the best waves, but just paddling out at Pipe is a rush in and of itself.
Local Knowledge: Surf before the sun comes up for your best shot at a good one out there.

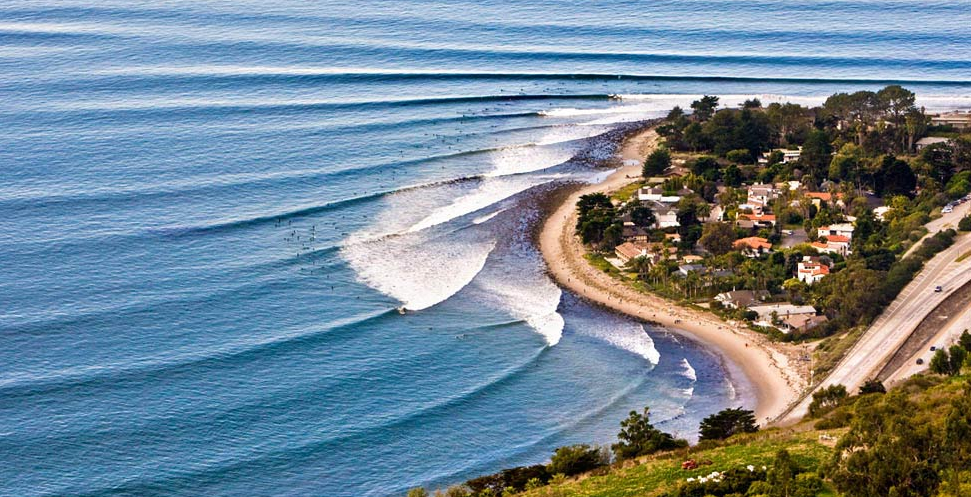
Rincon
When: October—March
Where: Central California near the little town of Carpentaria.
Why: Because it’s “The Queen Of The Coast” and the best right in California.
Local Knowledge: Don’t let the crowd dissuade you, start at the top of the point and find your sweet spot in that mass of humanity.
Teahupo‘o
When: April—September
Where: The end of the road on the island of Tahiti.
Why: To get the barrel of your life.
Local Knowledge: While the mags generally portray “Chopes” as the deadliest wave in the world, at four foot and the right swell direction, it’s ridiculous how tubed you can get without fear of dying.

Related Posts
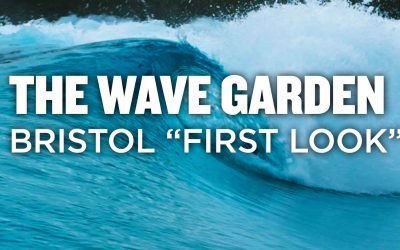
The Wave Garden Bristol “First Look”
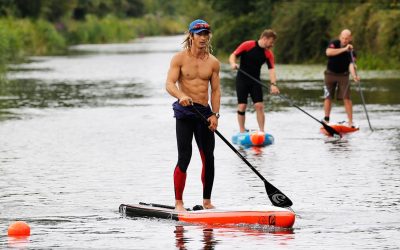
SUP Clinic Chichester By SBS boards & TJ Boards
We hosted our very first SUP clinic with Partners, TJ boards who are local experts of the Chichester canal. We were lucky enough to have our SUP team rider Narcy who lives in Fuerteventura in the canary island who lives and breast anything water sports. who is...
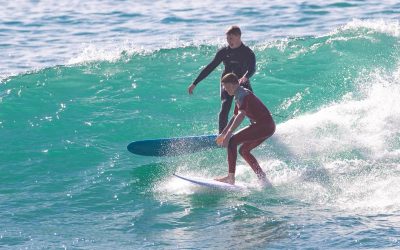
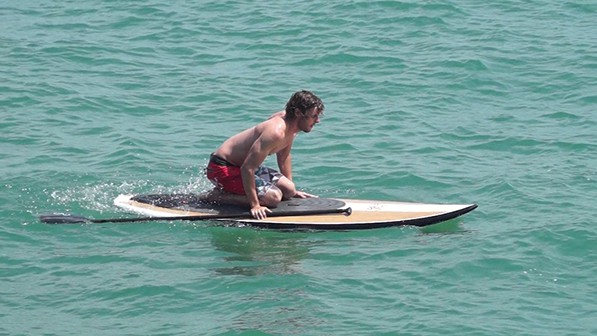
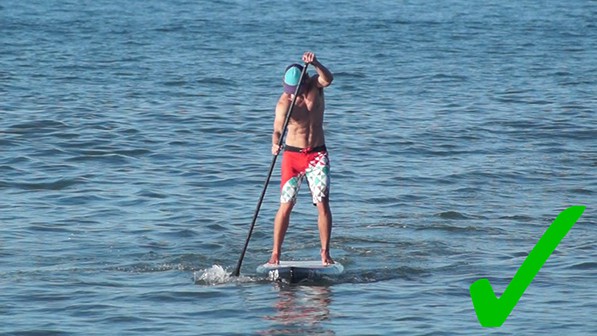
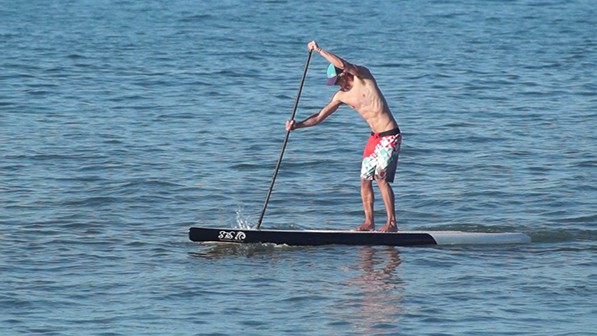
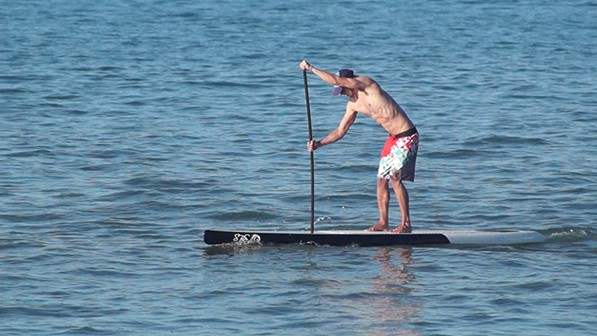
How To Paddle Faster!
Improving your paddle stroke means catching more waves longer sessions and more fun For anyone starting surfing or even an experienced Surfer will know the feeling of missing a wave by one or two strokes, not quite being in front of the wave as it peels or freaking...
13 Things All Beginner Surfers Need To Know
If you are new to surfing or if something you want to try there are some precautions you should definitely take before jumping in at the deep end Here are our top 13 tips for beginners all the things you will need to know to get you started in your surfing fun and...
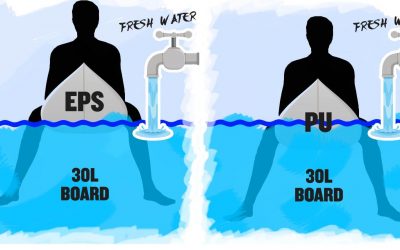
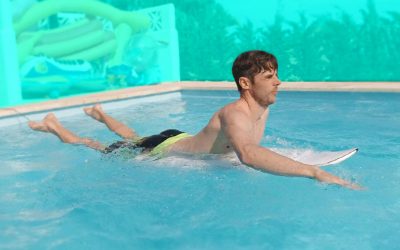
Epoxy Surfboards are Better For wave Pools?
Whats Better For Wave Pools (EPS Or PU) If you haven’t been hiding under a rock for the last 2 years then you have probably seen the explosion of wave pool video hit the internet from Kelly's Surf Ranch with endless peeling perfection to BSR Park, N Land in Austin or...
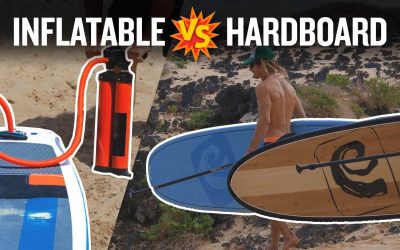
INFLATABLE SUP VS HARD SUP WHAT’S RIGHT FOR ME
As technology and development in inflatable and hard boards change this is something to review every few years as it used to be very clear that hard boards rule the waterways and inflatables had no place and no rivalry to the hardboard but today things are very...


