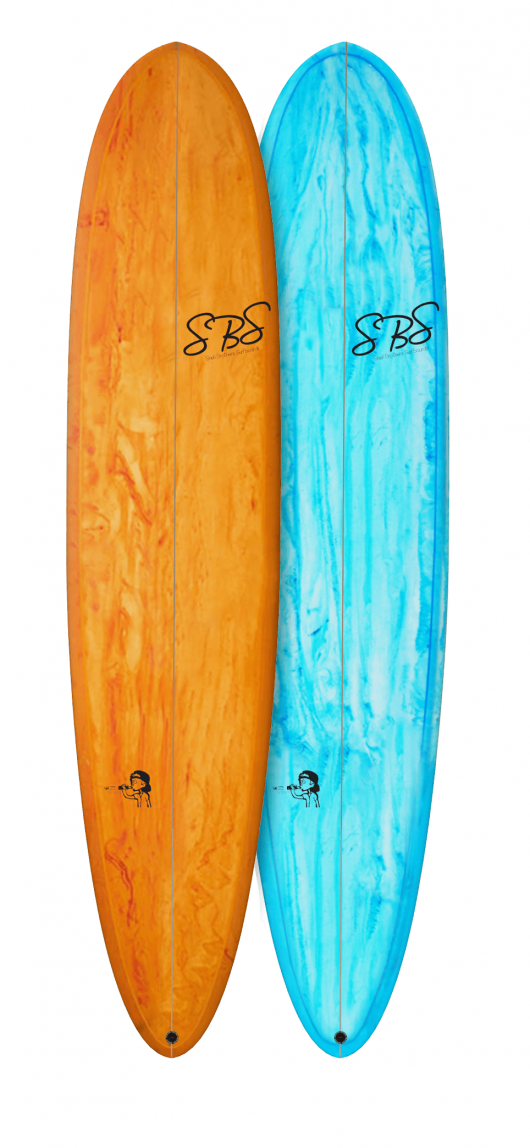
HOW TO WAX A SURFBOARD
Wax has been used for years to help surfers gain traction and grip to their surfboards in water. Traditionally a surfboard is quit slippery in the water and without wax or traction pads I would be difficult to paddle and ride. Most surfboards have a thin layer of wax on the deck. Surf wax applied correctly will create a layer of small waxy bumps giving your feet a grip/traction
The following is a beginner’s guide to waxing your board as well as a tutorial of how to get the perfect traction for your board If you’ve never waxed a surfboard before or you’re just looking for tips to get a better wax job, here is our guide to waxing your surfboard.
Wax types
Choosing the right wax for the job is key depending on the size of the board as well as the temperature of the water will determine what wax you need tropical water, warm water, cool water & cold water are your usual wax names if you take a cold water wax to warm water, it will be too soft. But you could use a warm water wax in cold water, but it’s better to get what you need.In the UK the average temperature varies from around 4 C in winter to around 15 C in summer. There for you will need to possible change your wax in the summer and winter. But most of the year Cold water wax is perfect
Wax temperature guide below
How To Wax A Surfboard In 5 Steps
Step 1: What You Will Need
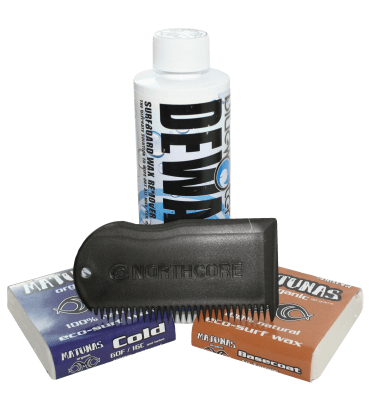
To wax your surfboard The main thing you will need is some wax remover/white spirit/a rag or cloth/ basecoat wax, topcoat wax and a wax combe
Step 2: Clean The Surfboard
When starting to wax a surfboard you need to remove any debris, dirt or previous wax to ensure the surfboard is clean to ensure you get proper adherence. If your surfboard is brand new follow step 4
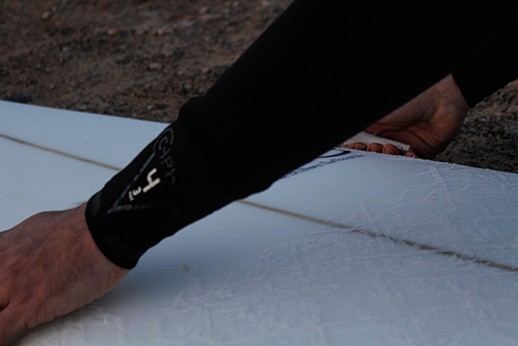
First take the wax combe and start scrape off all of the wax with the straight side of your wax comb. It helps if the wax can be heated up or the board left in the sun to aid this process. Ensure that you remove all wax from rails nose tail & deck using the curved and flat sides of the combe
You will still have a small amount of wax on the board so you will need to use wax remover cleaning product or white spirit that will dissolve any excess wax. Gently rub a cloth over the area to ensure all the wax is gone & wash off the cleaning solution with water.
Step 3 Where To Put Wax On Your Surfboard
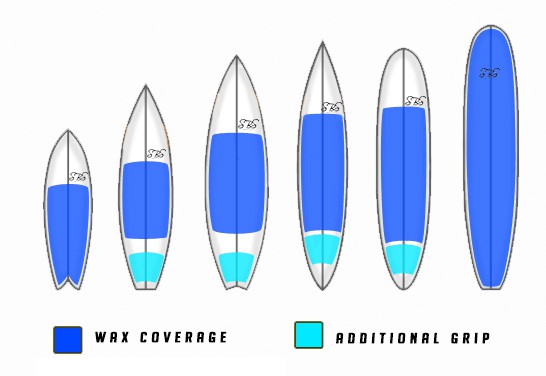
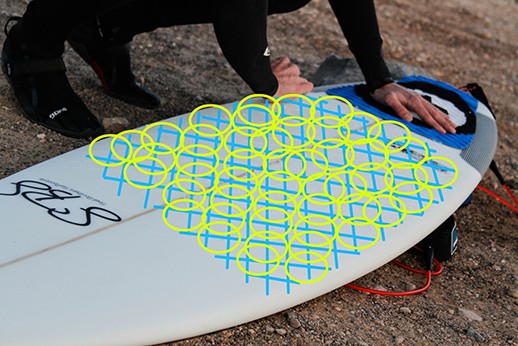
The picture below shows a rough guide of were to apply your wax on different types of the surfboard. Other areas include around the rails were you grip the board for duck diving and also all the way to the nose. Also, try to keep any wax off the bottom of your board as that will slow it down making your board less responsive.
Step 4: Applying The Basecoat
The basecoat is the foundation of your grip basecoat wax is harder than top coat and will last longer on your board. It also makes it harder to apply so will require a strong amount of pressure. It will help to create a pattern of bumps on your surfboard that helps the top cote stick easier. The base coat will help to keep your wax on for longer were as applying just topcoat would need to be applied constantly.
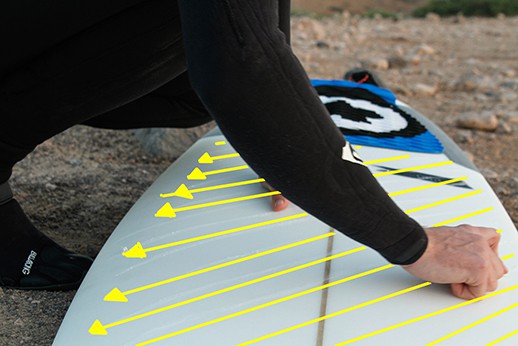
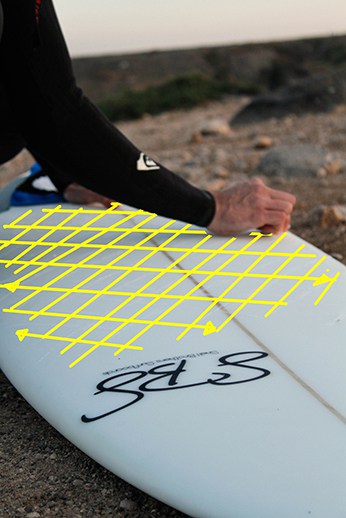
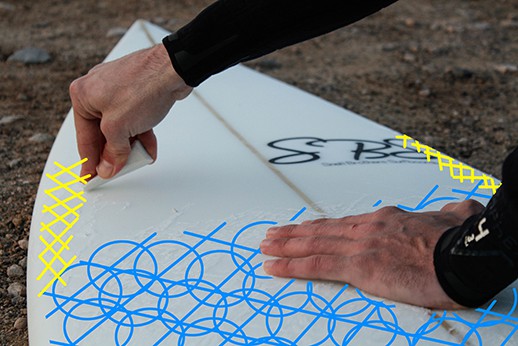
Begin by applying broad strokes on the board and continuing until you see a bump pattern emerge. Each surfer is different so try a range of patterns and styles of waxing that works for you
Its a good idea is to start off with criss crosses by going diagonal one way up the board and then go perpendicular to that direction back down the board. Its then a good idea to fill on those criss crosses by either
Front to Back: Rub the wax in a straight line parallel to the rocker and to keep grip when duck diving apply a small amount on the rails close to the nose
Circles: Rub the wax in little circles, moving up and down the board
Front to Back: Rub the wax in a straight line parallel to the rocker and to keep grip when duck diving apply a small amount on the rails close to the nose
Random: doing circular, straight, side to side in a random directions. After doing this for a few minutes “if properly performed “you will see small bumps and lumps begin to appear. Ensure to keep waxing until you have an even and suitable layer of wax.
Step 5: Top Coat
Now it’s time to apply the top coat of wax. Usually a lot softer in texture and greatly affected by heat changes and water temperature
The top coat is applied in the same way as the basecoat but with less pressure as the wax is softer. Use a similar technique.
Keep your wax sticky for longer
Once you finished your surf you will want to prepare your wax for the next session. Wax will enviable flake off and get stuck to your wetsuit body and shorts, therefor to keep your board at maximum grip you will need to reapply small amount of top coat before each session. The wax will eventually get flatter and less sticky a great tip if you haven’t got any wax or want a little more grip use the jagged side of a wax combe to scratch some lines in the wax to reveal the fresher wax underneath this will help your wax go further
If you surf a lot and find your wax isn’t doing its job it’s a good idea to go back to the beginning and start a fresh basecoat. On average a new basecoat should be applied every year but if you surf a lot every 3-4 months might be ideal.
Related Posts
THE SECRETS OF SURF PHOTOGRAPHY
The Secrets of Surf Photography Subject: when your photographing surfing you want to convey something in your photos? wave shape, surfing style, spray from turns, and above all, you want a connection with the surfer in the shot.This is tricky if you're 100m away from...
10 Health Benefits of Stand Up Paddleboarding …
10 Health Benefits of Stand Up Paddleboarding As we know to stand up paddle boarding is a pretty great sport from racing to wave riding it allows young and old to experience the ocean in a variety of forms. Not only is paddle boarding good for our stoke but it...
13 signs you know your addicted to Surfing
Yep its the sport of kings and most defiantly one of the most addicting sports on the planet, so if your frothing to get in on some 1-foot mush or thinking about missing a wedding for some decent swell check out our "13 signs you know you're addicted to Surfing" 1)...
Top 5 Tips for Improving Your Cut back
Top 5 Tips for Improving Your Cut back The front side cutback is a move that is used by surfers of all skill levels. The cutback allows you to use the rail of your board and brings you back to the source of the wave where you can generate more speed for your next hit....
How to Turn A Stand Up Paddleboard
How to Turn A Stand Up Paddleboard Being able to turn a paddle board is an essential skill. The more practice you get at turning and the wider variety of turns you can do will help in you ability to turn at speed and have a much finer control over the paddleboards....
5 Must Know Ways to Improve Your Breath Hold For Surfing
5 Must Know Ways to Improve Your Breath Hold For Surfing We all love surfing and pushing ourselves to get bigger, better & gnarly waves. Progressing and improving are all part of the game. So inevitably you’re going to want to feel comfortable in some...


