How To Fix A Surfboard Ding
We have all been there… you’re travelling through a far-off exotic country, you are just about to go out for a surf and the waves look great, but you find out you got a ding from your last session or you damage your board on the way there… what do you do? Some surfers might sit out the session, some might use the handy old gaffer tape or a spare sticker to help keep it watertight and psychos among you might just go in any way, you know who you are…
But what if you had the ability to do a pretty good patch up job on the run to help make your board as good as new.
Its always good to know how to fix your surfboard dings and making a half decent repair can keep your stoke levels at an all-time high. Having a quick solution to make your board watertight and still perform at the highest level that you can do instantly is a must-have skill for every surfer. Especially if you are on a long surf trip having a quick repair guide could make all the difference.
Remember this is a quick patch-up job to get you through your trip or a few sessions and not a comprehensive fix but its just the bare essentials you need to have in an emergency ding repair kit to get you through.
- Solarez Epoxy Resin kit with (coarse) grit sanding pad.
- Swiss Army Knife/ pen knife/ scapel
- Sand Paper (Fine 120-180 grit) small sheets
- Fibreglass (various sizes or patches) – Get some patches of Fibreglass cloth before you go. (from local shapers or internet)
EXTRAS
- Sanding block
- Scissors
Step: 1 Dry Your Board Out:
To ensure your patch job repair lasts you have to dry your board out. if you just been surfing and had a collision in the water with another surfer or got to close to someone’s fins or just dinged it jumping in off the rocks you will want to make sure all the water is out before you make the repair
To get rid of the water there are a few things you can do firstly a few diehards will suck out the water themselves, but if you don’t fancy that leave your board in sunlight or a hot place and the sunlight should evaporate the water soon enough
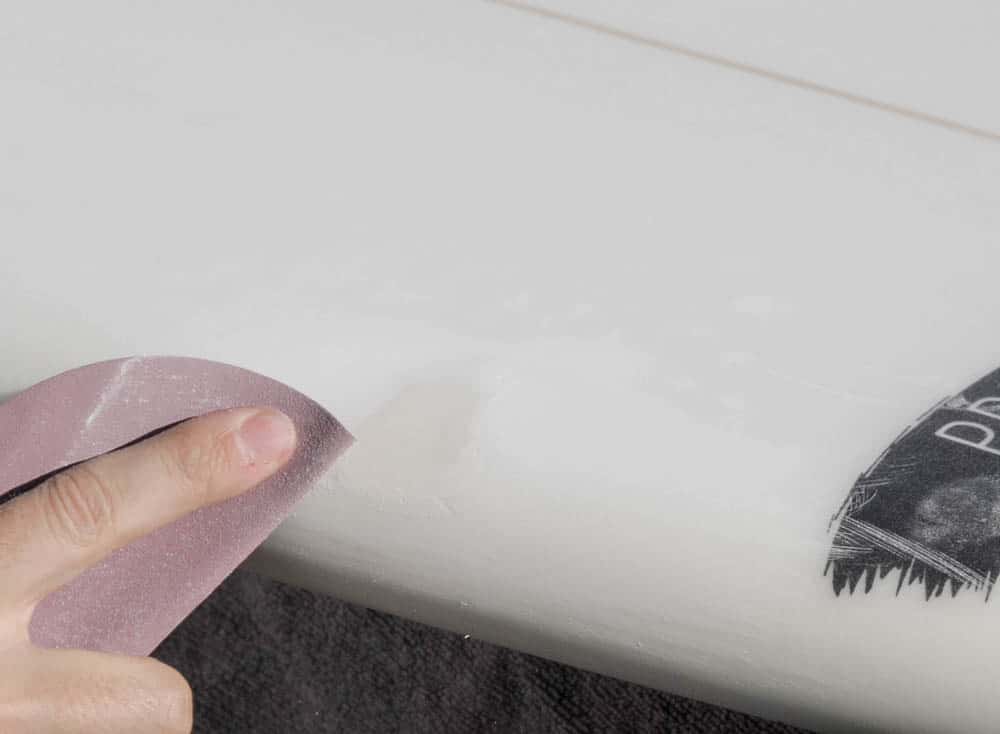
Step 2: Clean Up
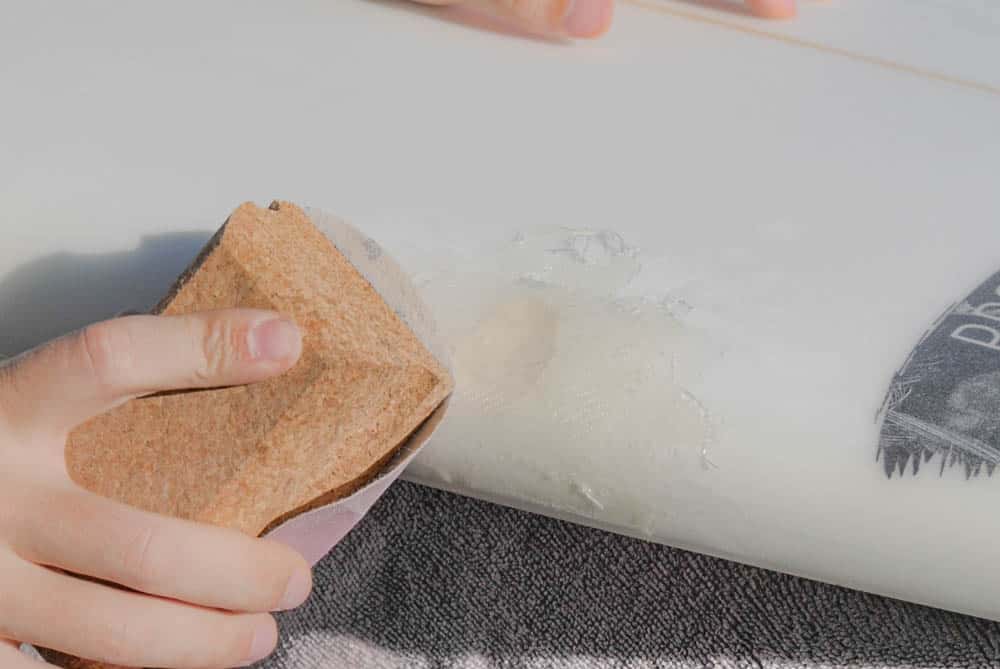
You can’t start fixing your board until you have good foundations so clean up around the dinged area, remove dirt, wax, or any broken stickers and sticker residue, use a wax come or a credit card to remove the wax and any residue left near the ding.
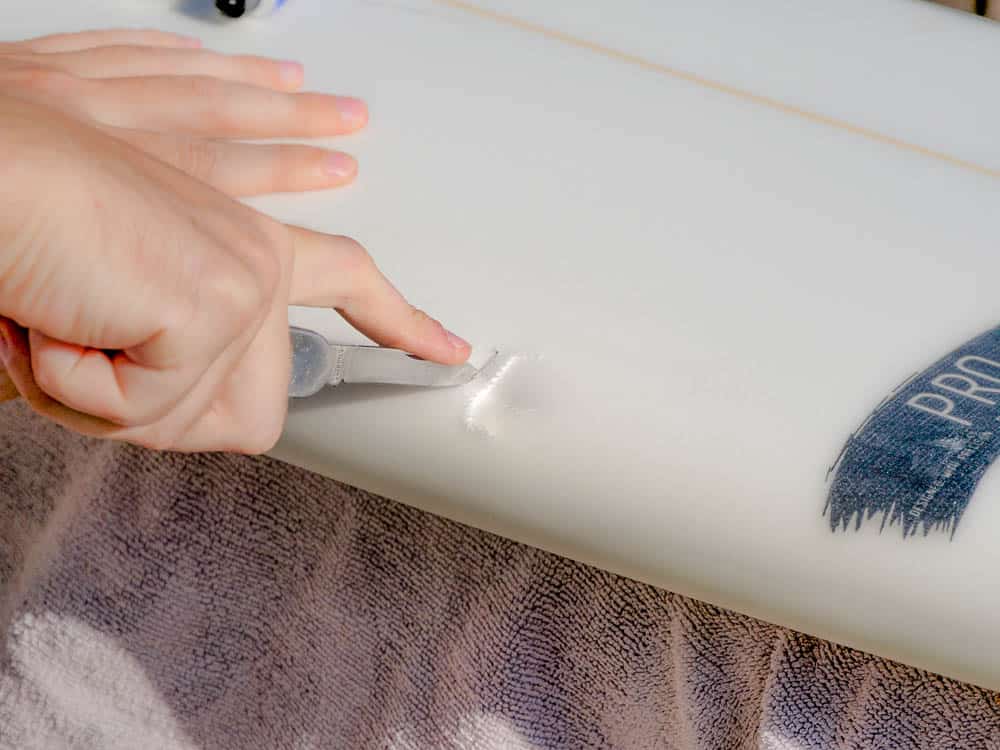
Check first to ensure the cutting area is clear, then see how far the damage goes up your board, cut away any broken fibreglass that’s lost or cracked giving you a clean strong edge to bond with your repair, use the pen knife for this and make sure its sharp, this will help to cut cleanly. (this can be tricky with a blunt blade) Remember to remove the broken fibreglass and any debris left in the ding.
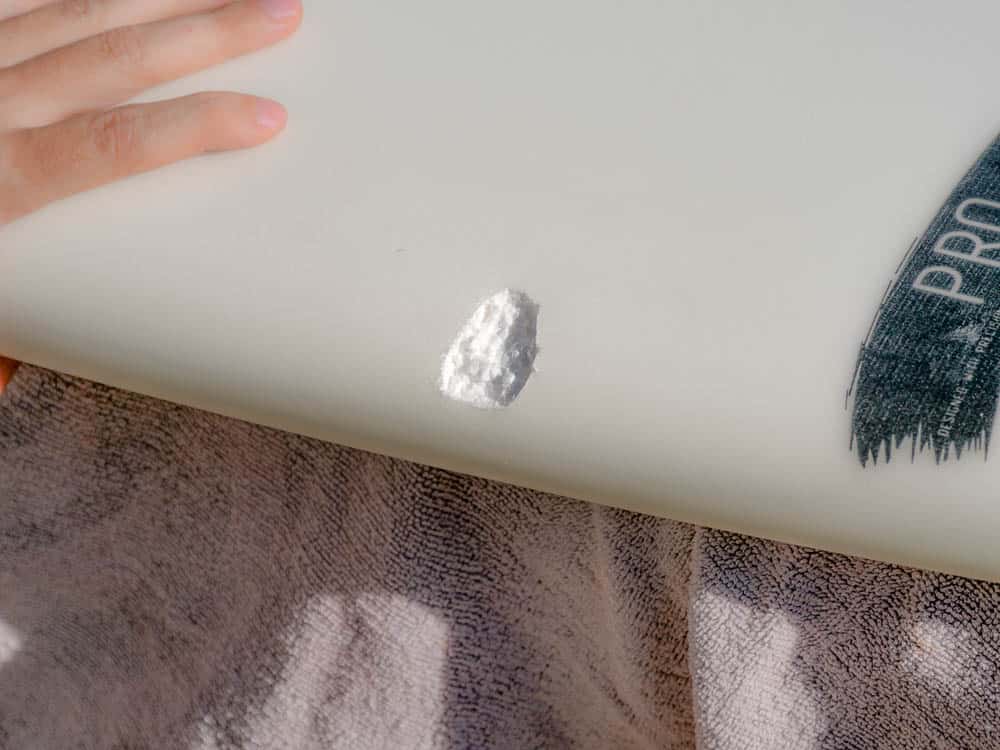
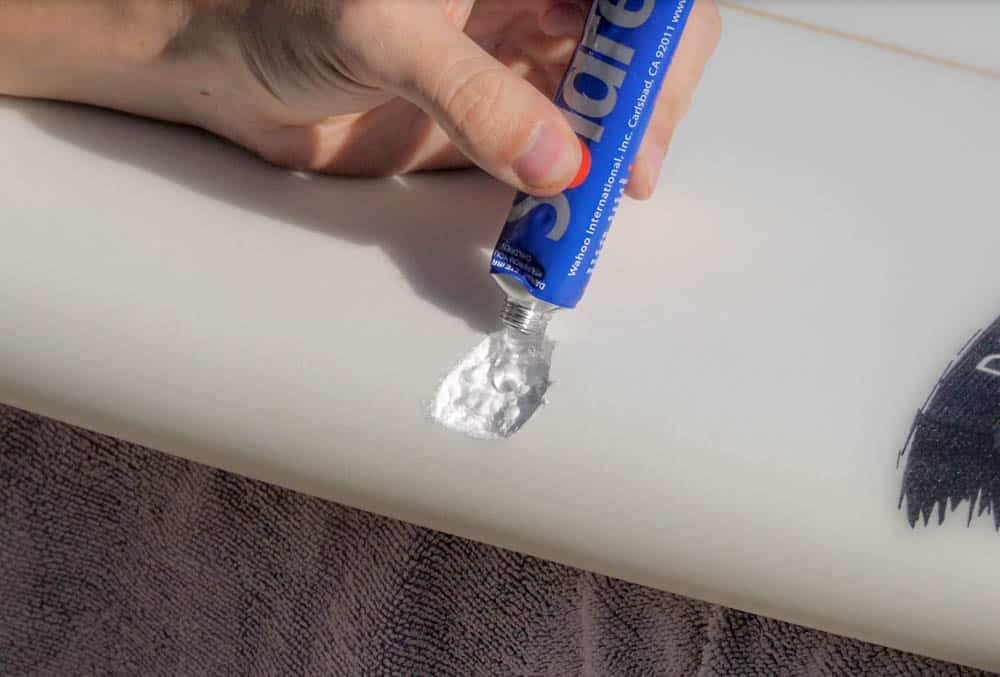
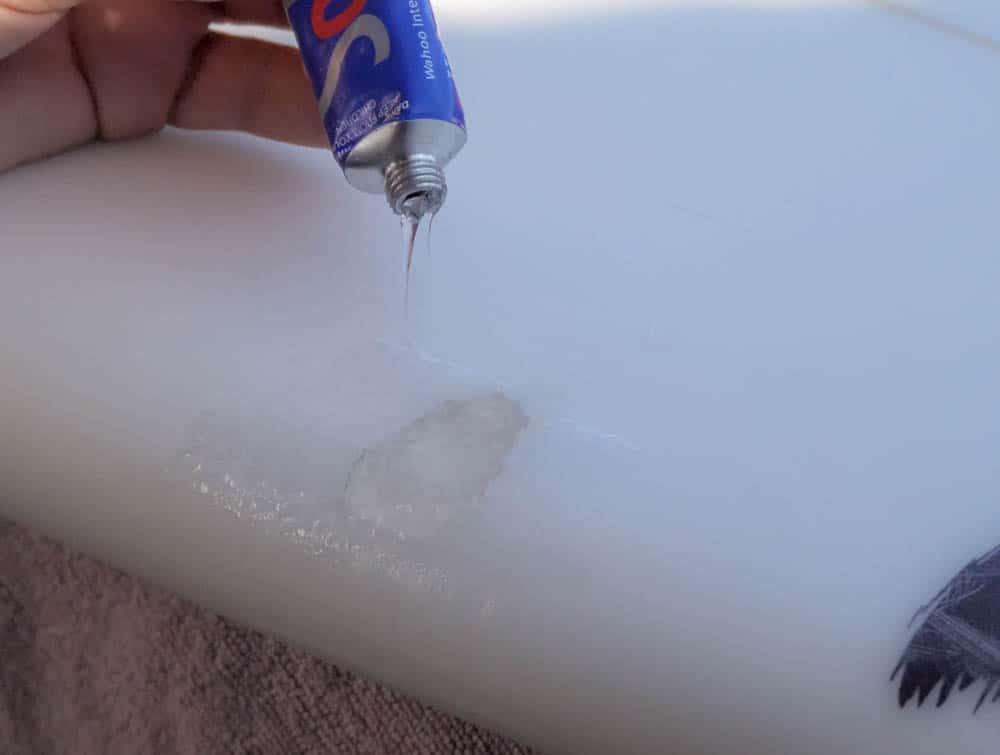
Now its time to fill your ding, when applying solarez make sure you do it out of direct sunlight in a shaded place, this will ensure the resin doesn’t set too quickly. Apply a small amount of Solarez directly on to the dinged area ensuring it goes all the way in to avoid any air pockets forming. Try and use more resin than you need and make sure all the edges of the repair are covered to get a watertight seal. To help stop dripping use tape or cardboard to help move the resin around in place.
Once the ding is fully covered apply clear plastic sticky tape over the area to help compress the resin down and flatten the top to make sanding easier.
Take the board and place it in direct sunlight and leave it for 3-5 minutes or 10-15 minutes in partial sunlight or a cloudy day, depending on sun levels. The resin will start to harden but leaving longer is always better.
Top Tip – try not to make the repair on a cloudy or rainy day or even at night as it won ‘t cure and the resin will remain soft.
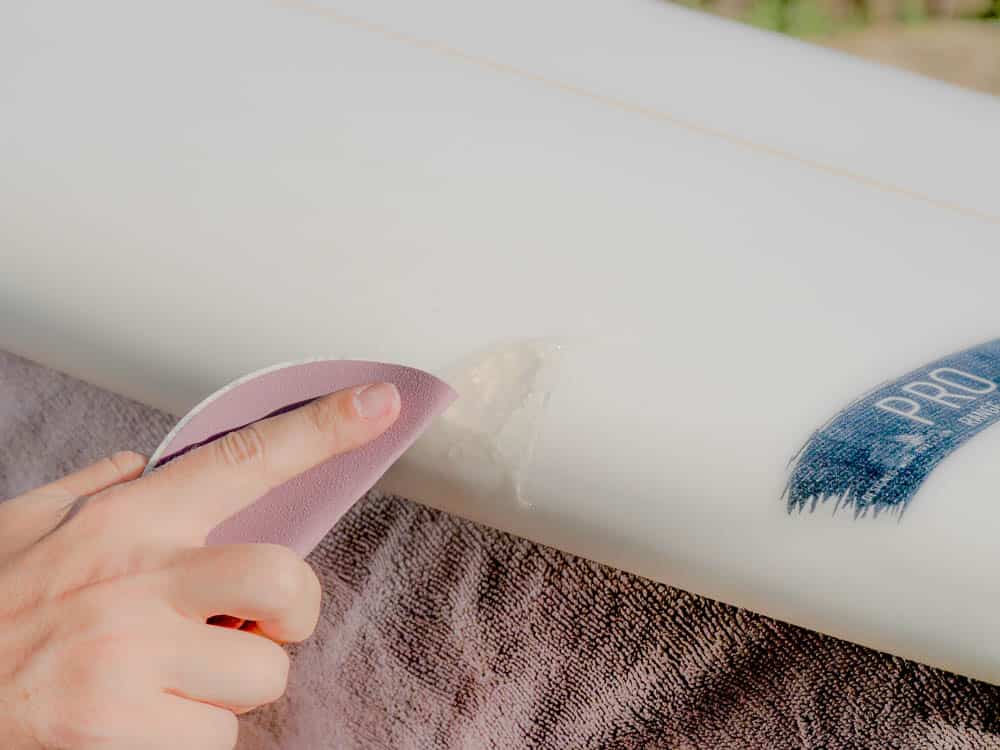
Once your resin is fully hardened take the sandpaper and start to sand down the excess until its flush with the board. Use the sandpaper to help shape the resin if the ding is in a difficult spot like the nose tail or rails. Sand until flat and remove excess dust.
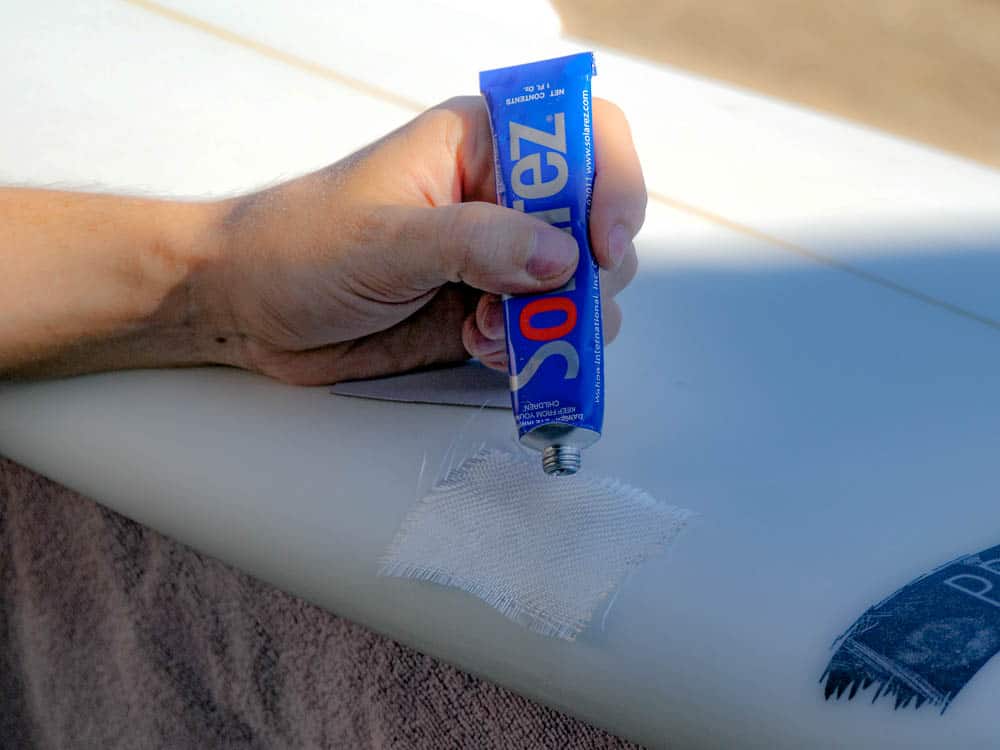
Step 7: Cut Fibreglass Cloth
Use the scissors from the pen knife or regular scissors to cut a patch from the fibreglass cloth bigger than the size of your ding. A square or a rectangle is best and give yourself a few centimetres overlap each side to help bond the glass to the board.

Before you apply your fibreglass cloth you need to apply your base layer of solarez to the dinged area, this ensures the fibreglass has something to stick too. Use a piece of cardboard to move resin around keeping an even layer all over the repaired area.
Step 9: Apply Fiberglass And Top Layer Resin
Place your cut out piece of fibreglass cloth over the resin and then apply a top layer of resin over the fibreglass to ensure its fully saturated and covered.
Once fibreglass has been fully applied, ensure all the fibres are covered, place out in the sun for 5-10 minutes to ensure fully cured.
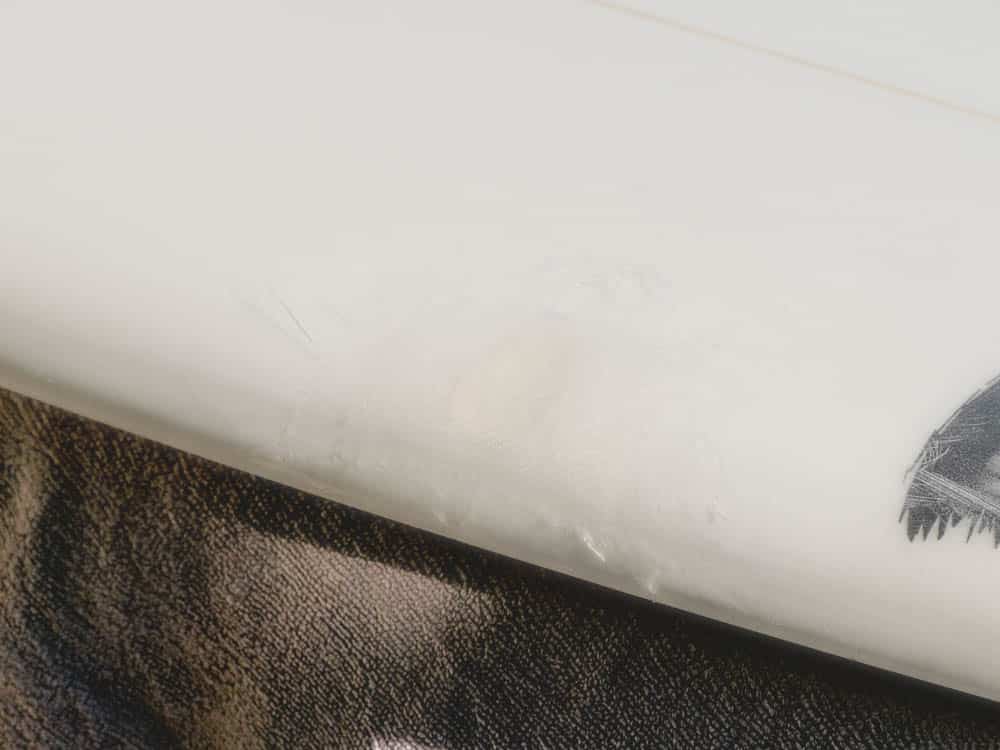
Now that the resin is hard we can begin the final stages of sanding, your repair is almost done. Use the sandpaper just as before to sand down the resin until smooth, ensuring not too hard to expose the fibreglass. Once you have got the repair flat and smooth with no lumps wipe off all the excess dust with an old rag or water, visually inspect it and make sure there are no lumps or holes that you missed.
Now you finished your repair you are good to go, surf and enjoy the waves, remember this is a temporary repair and not guaranteed to keep your board watertight for years but should be enough to get your board through a surf trip and a few surf sessions.
For the best repairs, it’s always a good idea to consult your local surf shop or ding repair shop and get it professionally fixed if you are unsure of what to do.
Related Posts

The Wave Garden Bristol “First Look”
The Wave Garden Bristol “First Look”The Wave Bristol Has released its first short video of the waves produced by wave garden specifically wave garden cove technology and we got say its looks incredible. ever since the first idea of the wave bristol came about we have...

SUP Clinic Chichester By SBS boards & TJ Boards
We hosted our very first SUP clinic with Partners, TJ boards who are local experts of the Chichester canal. We were lucky enough to have our SUP team rider Narcy who lives in Fuerteventura in the canary island who lives and breast anything water sports. who is...
How To Paddle Faster!
Improving your paddle stroke means catching more waves longer sessions and more fun For anyone starting surfing or even an experienced Surfer will know the feeling of missing a wave by one or two strokes, not quite being in front of the wave as it peels or freaking...
13 Things All Beginner Surfers Need To Know
If you are new to surfing or if something you want to try there are some precautions you should definitely take before jumping in at the deep end Here are our top 13 tips for beginners all the things you will need to know to get you started in your surfing fun and...
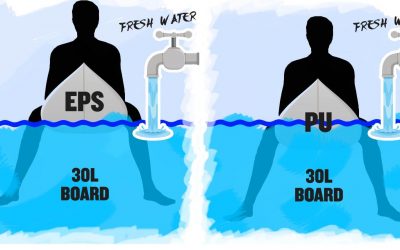
Epoxy Surfboards are Better For wave Pools?
Whats Better For Wave Pools (EPS Or PU) If you haven’t been hiding under a rock for the last 2 years then you have probably seen the explosion of wave pool video hit the internet from Kelly's Surf Ranch with endless peeling perfection to BSR Park, N Land in Austin or...
INFLATABLE SUP VS HARD SUP WHAT’S RIGHT FOR ME
As technology and development in inflatable and hard boards change this is something to review every few years as it used to be very clear that hard boards rule the waterways and inflatables had no place and no rivalry to the hardboard but today things are very...